
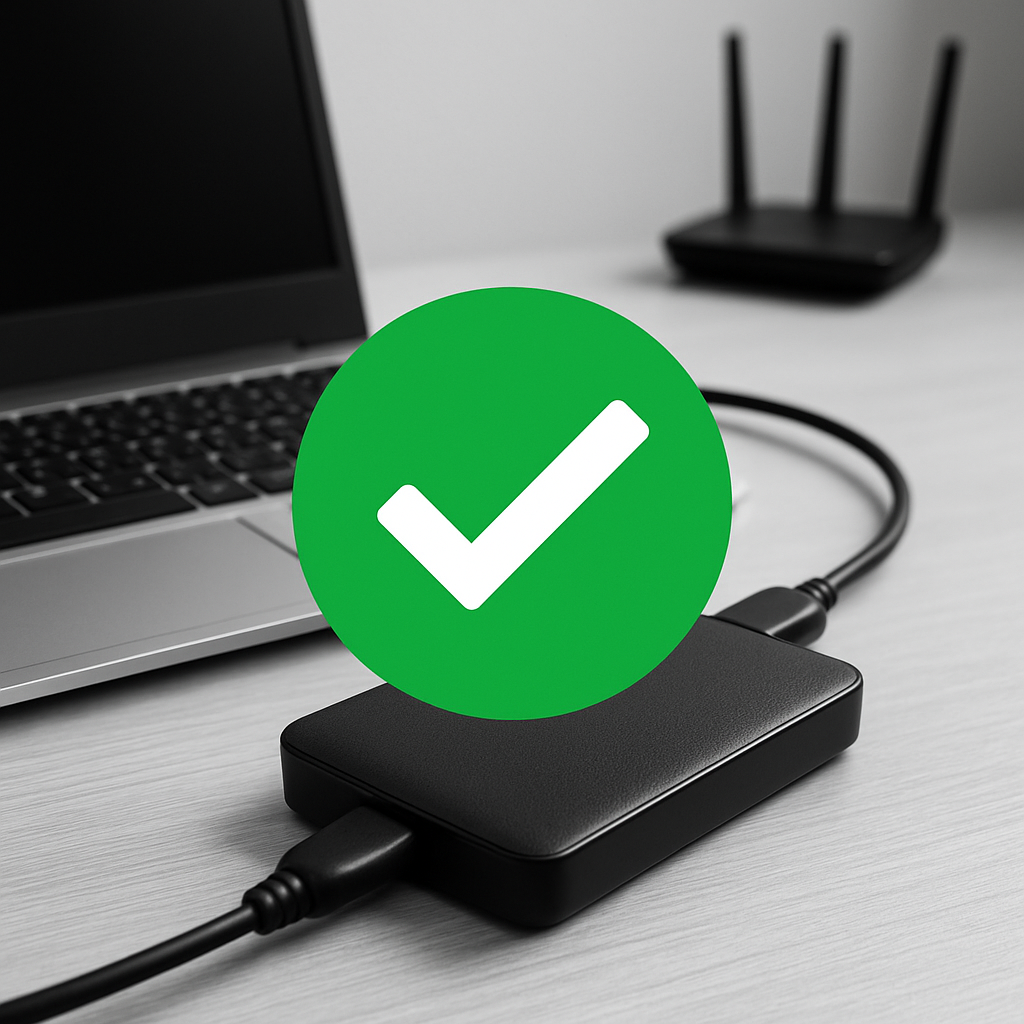
Your files matter: family photos, school papers, and tax documents. In this guide, you will set up automatic backups on your computer or phone and learn how to safely restore files when something goes wrong. By the end, you will have a simple, reliable backup plan you can trust.
Table of Contents
- Before You Start
- Quick Fix Steps
- Set Up Automatic Backups
- Restore Files Safely
- Deeper Diagnosis
- Preventive Care
- When to Seek Help
- Conclusion
- Frequently Asked Questions
Before You Start
Prerequisites:
- An external drive (USB hard drive or SSD) with at least 2× the size of your data, or a reliable cloud storage account.
- For phones, a charger and Wi‑Fi. Backups run faster when plugged in and on Wi‑Fi.
- Your device login and, if you use encryption, your recovery key/password.
Time estimate: 15–60 minutes for the first setup. Future backups run automatically.
Difficulty: Easy–Medium.
What can go wrong:
- Backups fail if the drive is full or unplugged.
- Incorrect settings may skip important folders.
- Encrypted backups are unusable if you lose the password.
Warning: If you are asked to format a drive, that erases everything on it. Double‑check you chose the correct drive before continuing.
Quick Fix Steps
- Connect your external drive and wait 10–20 seconds for the system to see it.
- Update your device: install the latest system updates. This fixes known backup glitches.
- Turn on your device’s built‑in backup tool (see steps by OS below). Choose the external drive or cloud.
- Select the folders you care about most first (Documents, Pictures, Desktop). Add others later.
- Start the first backup and leave the device plugged in until it finishes.
- Verify it worked: restore one harmless test file to a new folder.
- Schedule automatic backups (hourly/daily) and note where the backup is stored.
Set Up Automatic Backups
Windows (10/11)
- Plug in your external drive.
- Open Settings > Accounts > Windows backup to review basic options, then set up File History for folders.
- Open File History quickly: Press Windows+R, type
control /name Microsoft.FileHistory, then Enter. - Select your backup drive and click Turn on. Choose Exclude folders if needed.
- Click Advanced settings to set how often to back up (e.g., Every hour) and how long to keep versions.
- Tip: Your files are versioned. You can go back in time if you overwrite a file.
Note: The backup drive will have a folder like FileHistory. Do not edit files inside it.
macOS (Ventura or later)
- Connect your external drive. When prompted, choose it as a Time Machine backup disk.
- Or go to System Settings > Time Machine > Add Backup Disk and pick your drive.
- Turn on Back Up Automatically. Check Encrypt backups if desired and store the password safely.
- Use Options to exclude large folders you do not need.
Warning: If you enable encryption and forget the password, you cannot restore that backup.
iOS (iPhone/iPad)
- Connect to Wi‑Fi and plug in power.
- Go to Settings > [your name] > iCloud > iCloud Backup.
- Turn on iCloud Backup and tap Back Up Now to start the first backup.
- To back up to a computer instead, connect via USB and use your computer’s device manager to create an encrypted local backup. Store the password safely.
Tip: Photos and videos can also be copied to a computer: connect via USB and copy from the DCIM folder to a dated folder on your computer.
Android (steps vary by device)
- Connect to Wi‑Fi and plug in power.
- Open Settings > System (or Accounts) > Backup.
- Turn on Device backup. Confirm the account and what to include (apps, SMS, call history, etc.).
- For photos/videos, enable your chosen cloud photos backup app, or copy to a computer via USB from the
DCIMfolder.
Network or Cloud Options (computers)
- Network drive/NAS: In your OS backup tool, select the network location (e.g.,
\\NAS\Backupson Windows orsmb://nas/backupson macOS). Ensure the device stays powered and on your network. - Cloud storage: Use a reputable cloud provider’s desktop app to sync a dedicated
Backupsfolder, or use the OS backup tool if it supports cloud targets.
Warning: Do not store the only backup on the same computer. If the computer fails or is stolen, you lose the backup too.
Restore Files Safely
Decide what you need: one file, a folder, or a full device restore. Restoring a single file is low risk. A full restore can overwrite current data.
Windows
- Open File History (Windows+R,
control /name Microsoft.FileHistory), then click Restore personal files. - Browse by date, select the file/folder, and click Restore. To avoid overwriting, right‑click > Restore to and pick a new folder.
- Warning: System Image Restore replaces your whole system and can remove newer files. Only use it when necessary and after copying any new files elsewhere.
macOS
- Open the folder where the missing file used to be. Click the Time Machine icon and choose Enter Time Machine.
- Use the timeline to find the version you want. Select and click Restore. To restore elsewhere, right‑click and choose a different location.
- Full restore: boot to macOS Recovery and restore from Time Machine. Warning: This can overwrite your current disk.
iOS
- To restore everything from an iCloud backup, go to Settings > General > Transfer or Reset > Erase. Then set up your device and choose the backup.
- Warning: This erases the phone first. Back up any new data before you start.
- For specific items (like photos), restore from your cloud photos app or copy from a computer without erasing the device.
Android
- Full restore usually happens during setup after a reset. Sign in with the same account and choose the backup.
- Warning: A factory reset erases the phone. Save anything new first.
- For single items (photos, files), restore from your cloud app or copy from a computer.
Deeper Diagnosis
If backups do not run or restores fail, use these checks:
- Check last backup time: Windows File History or macOS Time Machine shows the last run. On phones, see the backup screen for the last successful date.
- Confirm space: Ensure the backup drive/cloud has free space (at least 20% recommended). Delete old versions only if you are sure you no longer need them.
- Run a test restore: Pick one small file and restore it to a new folder named
Restore-Test. Open it to confirm it is intact. - Cables and ports: Try a different USB port or cable. Avoid unpowered USB hubs for large drives.
- Drive health: If the drive disconnects randomly, run your OS disk utility to check for errors. Strange clicking sounds can indicate a failing drive.
- Schedules: Ensure your computer is awake when backups are scheduled. Laptops may need to be left plugged in and allowed to run overnight.
- Logs (Windows): In File History > Advanced settings, click Open File History event logs for details.
Note: If ransomware or malware is suspected, disconnect the backup drive immediately to protect it, then seek professional help.
Preventive Care
- Follow the 3‑2‑1 rule: keep 3 copies of your data, on 2 different types of storage, with 1 copy off‑site (cloud or a drive stored elsewhere).
- Label your drives by name and with a sticker (e.g., “Backup‑A”, “Backup‑B”) and rotate weekly or monthly.
- Schedule a monthly test: restore one random file to prove your backups work.
- Keep software updated and avoid downloading installers from unknown sites.
- Use encryption for portable drives and store recovery keys in a safe place (a password manager or printed copy in a secure spot).
When to Seek Help
- Backups fail repeatedly for more than a week, or you see errors you cannot clear.
- The backup drive is not recognized on any computer, or makes unusual noises.
- You need to recover deleted files and have no working backup.
- You suspect malware or ransomware.
- You lost an encryption password or recovery key.
Contact official device support or a trusted local technician. For urgent data loss, stop using the affected device to avoid overwriting recoverable data.
Conclusion
You set up automatic backups, verified they work, and learned safe restore steps. Keep your backup drive connected on schedule, rotate copies, and do quick test restores monthly. These habits turn data loss from a crisis into a quick fix.
Frequently Asked Questions
How big should my backup drive be?
At least 2× your current data size. This leaves room for versions and future files.
How long does the first backup take?
Anywhere from minutes to many hours. Large photo/video libraries take longer. Start it before bedtime and keep power connected.
Is syncing the same as backing up?
No. Sync mirrors changes (including deletions). A true backup keeps older versions so you can go back in time.
Can I use a network drive or NAS?
Yes. Point your OS backup tool to the network location and keep the device powered and on the same network. Test restores regularly.
Leave a Reply