
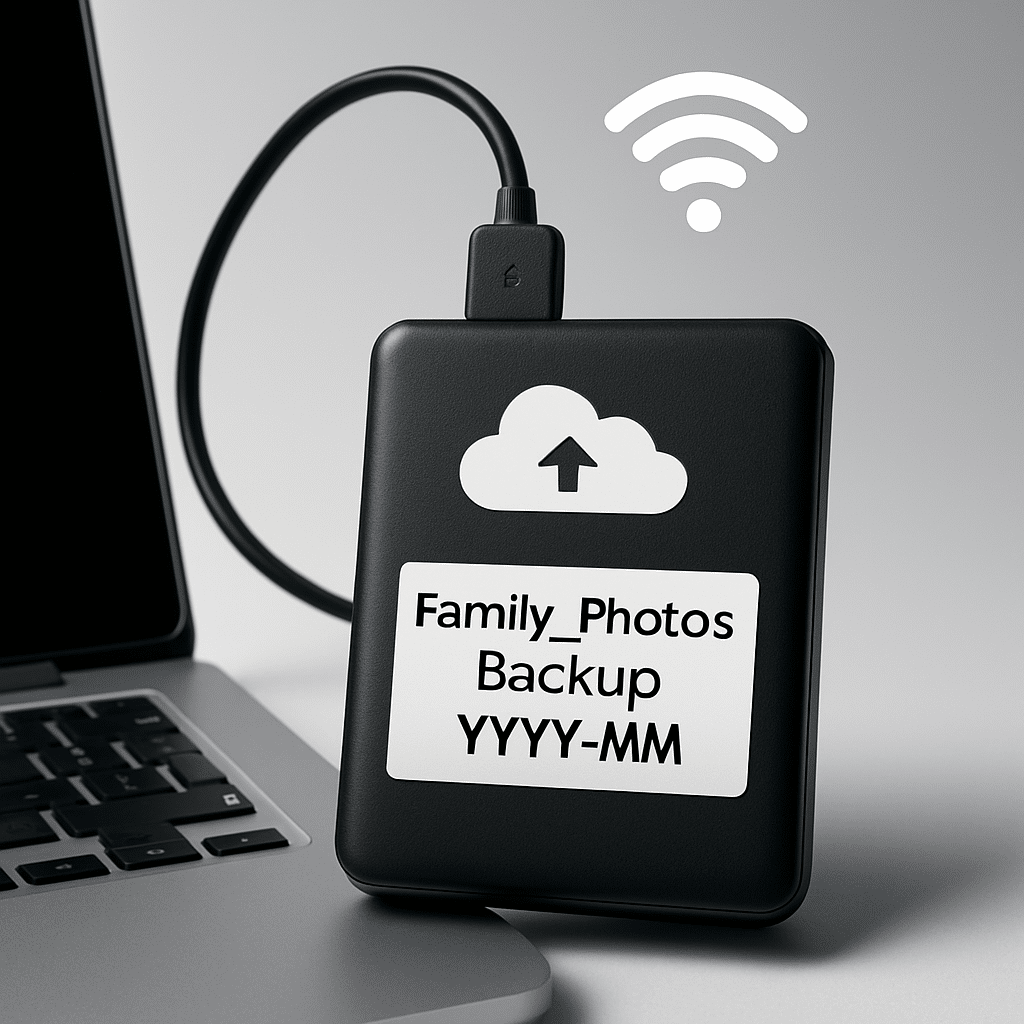
Your family photos are priceless. In this guide, you will set up a simple, safe backup plan and learn exactly how to restore pictures when you need them. No jargon, just clear steps you can follow today on Windows, macOS, iOS, or Android.
Table of Contents
- Table of Contents
- Before You Start
- Quick Fix Steps
- Plan Your Backup
- Back Up to an External Drive
- Back Up to a Cloud Service
- Restore Your Photos
- Deeper Diagnosis
- Verify and Organize
- Preventive Care
- When to Seek Help
- Conclusion
- Frequently Asked Questions
Before You Start
Backup means making a safe copy of your files in another place. Cloud storage means saving your files on secure servers on the internet. External drive means a USB hard drive or flash drive you can hold in your hand.
- What you need: an external USB drive (or enough cloud storage), your charging cables, and time.
- Time estimate: 30–90 minutes for the first backup, then less for updates.
- Difficulty: Easy to Medium, depending on how many devices you have.
- What can go wrong: unplugging during copy, not enough space, or copying the wrong folder.
Warning: Do not delete or factory reset any device until you confirm the backup worked and you can open the photos from the backup. Do not format (erase) a drive unless you know it is empty and you have another verified copy.
Quick Fix Steps
- Gather your photos in one place on your computer. On Windows, open
%USERPROFILE%\Pictures. On macOS, open~/Pictures. - Plug in an external USB drive. Wait for it to appear on your computer.
- Create a folder on the drive named
Family_Photos_Backup_YYYY-MM(replace with the current year and month). - Copy your Pictures folder and any other photo folders (like Desktop albums) to the new backup folder. Do not move—copy.
- On your phone, turn on your built-in photo backup to the cloud (see OS steps below) to protect new photos automatically.
- Spot-check the backup. Open several photos and videos from the drive to confirm they work.
Plan Your Backup
Use the 3-2-1 rule: keep 3 copies of your photos, on 2 different types of storage, with 1 copy offsite (cloud or a drive at a friend’s house). This balances safety and cost.
- Decide your main photo hub (one computer or one cloud account).
- Choose at least one external drive for a local copy.
- Choose a cloud service or offsite location for the third copy.
- Set a schedule: weekly automatic cloud backup and a monthly external drive backup.
Tip: Label your drive with your name and the month/year. Keep it in a dry, cool place.
Back Up to an External Drive
Windows (PC)
- Connect your external USB drive. Open File Explorer.
- Go to your photos: open
%USERPROFILE%\Pictures. Also check%USERPROFILE%\Desktopand%USERPROFILE%\Downloadsfor stray photos. - Select your photo folders and press Ctrl+C to copy.
- Open your external drive in File Explorer. Create a folder named
Family_Photos_Backup_YYYY-MM. Press Ctrl+V to paste. - Wait for the copy to finish. Do not unplug the drive until the progress window is complete.
macOS (Mac)
- Connect your external USB drive. Open Finder.
- Open
~/Pictures. If you use the Photos app, you will see a file calledPhotos Library.photoslibrary. Copy this whole file as a single item. Do not open it or copy pieces from inside it. - Also check Desktop and Downloads for loose photos and copy them too.
- Open your external drive in Finder. Create
Family_Photos_Backup_YYYY-MMand paste.
iOS (iPhone/iPad)
- Connect your device to a computer with a USB cable and unlock it. Approve any “Trust this computer?” prompt.
- On Windows, open File Explorer and select your device under “This PC,” then open the DCIM folder to copy photos to your external drive.
- On macOS, open Photos and import from your device. Then back up the resulting photos or Photos Library to your external drive as above.
- Note: If you do not see your photos, use cloud backup from the phone instead (see below).
Android
- Connect your phone to a computer with a USB cable. Unlock the phone and set USB mode to “File transfer” if prompted.
- Open the phone in File Explorer/Finder. Find
DCIM/Cameraand any other photo folders. - Copy photos to your external drive’s
Family_Photos_Backup_YYYY-MMfolder. - Tip: If your phone has a removable memory card, you can also power off the phone and copy from the card using a card reader.
Warning: Never click “Format” on a drive or memory card unless you are 100% sure all photos are already safely backed up and verified elsewhere.
Back Up to a Cloud Service
Cloud backup protects you if a device is lost, stolen, or damaged. It also gives you an offsite copy automatically.
Windows/macOS (computer)
- Choose a reputable cloud storage provider. Use only the official website or app store to install the sync app. Avoid third-party download sites.
- Sign in to your account. Create a folder named
Family_Photosin your cloud sync folder. - Copy your photos (from
%USERPROFILE%\Pictureson Windows or~/Pictureson macOS) into that cloud folder. - Leave the computer on and connected to the internet until syncing completes.
iOS (iPhone/iPad)
- Open Settings. Find your account and Photos settings.
- Turn on “Sync” or “Back up” for Photos. Choose “Upload over Wi‑Fi only” to save mobile data, if available.
- Keep the device charging and on Wi‑Fi until the first backup finishes.
Android
- Open Settings. Tap Accounts or Passwords & accounts.
- Select your main account. Look for a Photos or Backup option.
- Turn on “Back up & sync.” Choose Wi‑Fi only if you want to save data.
Note: Menu names differ by device. If you cannot find the exact setting, search in Settings for “photos” or “backup.”
Restore Your Photos
From an external drive to a computer
- Connect the drive to your computer.
- Open the backup folder (for example,
Family_Photos_Backup_YYYY-MM). - Copy the photos back to your Pictures folder (
%USERPROFILE%\Pictureson Windows,~/Pictureson macOS) or to a new folder of your choice.
From an external drive to a phone
- Put the photos onto a computer first (as above).
- Connect the phone by USB. Copy the photos into the phone’s
DCIM/Cameraor a new folder. - Safely eject before unplugging.
From the cloud
- On a computer, sign in to your cloud account. Download the needed albums or sync the whole
Family_Photosfolder. - On a phone, sign in to the same account in the Photos/Backup settings. Turn on sync and wait for photos to appear.
- Warning: Large restores can use a lot of data. Use Wi‑Fi and keep devices charging.
Deeper Diagnosis
- Drive not showing? Try a different USB port or cable. Try another computer. Listen for drive noises; clicking can mean failure.
- Windows: Open Disk Management. If the drive shows as “Unallocated,” stop and seek help. Do not format—it erases data.
- macOS: Open Disk Utility. If the drive appears but will not mount, stop and seek help. Do not erase.
- Phone not visible on computer? Unlock the phone. On Android, set USB to “File transfer.” On iOS, tap “Trust this computer.”
- Cloud stuck? Check your internet connection. Pause and resume the sync. Make sure you have enough cloud storage.
- Not enough space? Remove duplicates, or split the backup into multiple folders or drives. For long-term storage, consider a second drive.
Verify and Organize
- Spot-check at least 20 random photos and a few videos from the backup. Open them to ensure they are not corrupted.
- Compare counts. If you had 12,345 items before, your backup should match or be very close. Many photo apps show item counts.
- Create a simple folder system:
Family_Photos/Year/Event. Keep names short and clear, like2024/05-Spring-Trip. - Write a tiny readme file in the backup folder (who, what, when, where). Future you will thank you.
Preventive Care
- Schedule: Turn on automatic cloud photo backup on phones. Do a monthly external drive backup for your computer.
- Versioning: Keep older backups. Do not overwrite the only good copy—use dated folders.
- Password hygiene: Use strong, unique passwords for cloud accounts and enable two-factor authentication.
- Updates: Keep your devices updated. Updates fix bugs that can corrupt files.
- Safe downloads: Only install backup apps from official stores or vendors. Avoid pop-ups and ads that promise “1-click cleanup.”
When to Seek Help
- You hear unusual clicking or grinding from a drive.
- Disk tools suggest formatting before you can see files.
- The photo count is far lower than expected and you cannot locate missing folders.
- You deleted photos and need recovery. Stop using the device immediately and contact a professional.
- You are unsure which prompts erase data. Better to ask than to lose memories.
Conclusion
Now you have a practical plan: a local external-drive copy, a cloud copy, and clear steps to restore. Keep your routine simple and regular. Verify your backups, label your folders, and enjoy peace of mind knowing your family photos are safe.
Frequently Asked Questions
How much storage do I need?
Check the size of your photo folders. On Windows, right‑click your Pictures folder and choose Properties. On macOS, select the folder and press Command+I. Get a drive or cloud space at least 2× that size for growth.
What is the 3-2-1 rule again?
Keep 3 copies, on 2 different types of storage, with 1 offsite (like the cloud). This protects against device failure, accidents, and disasters.
How often should I back up?
Phones: keep cloud backup on all the time. Computers: copy to an external drive monthly, or after big events and trips.
Can I back up RAW or HEIC files?
Yes. Treat them like any other file when copying to drives or syncing to cloud. Make sure your viewer app supports the format when you test a few files.
Leave a Reply