
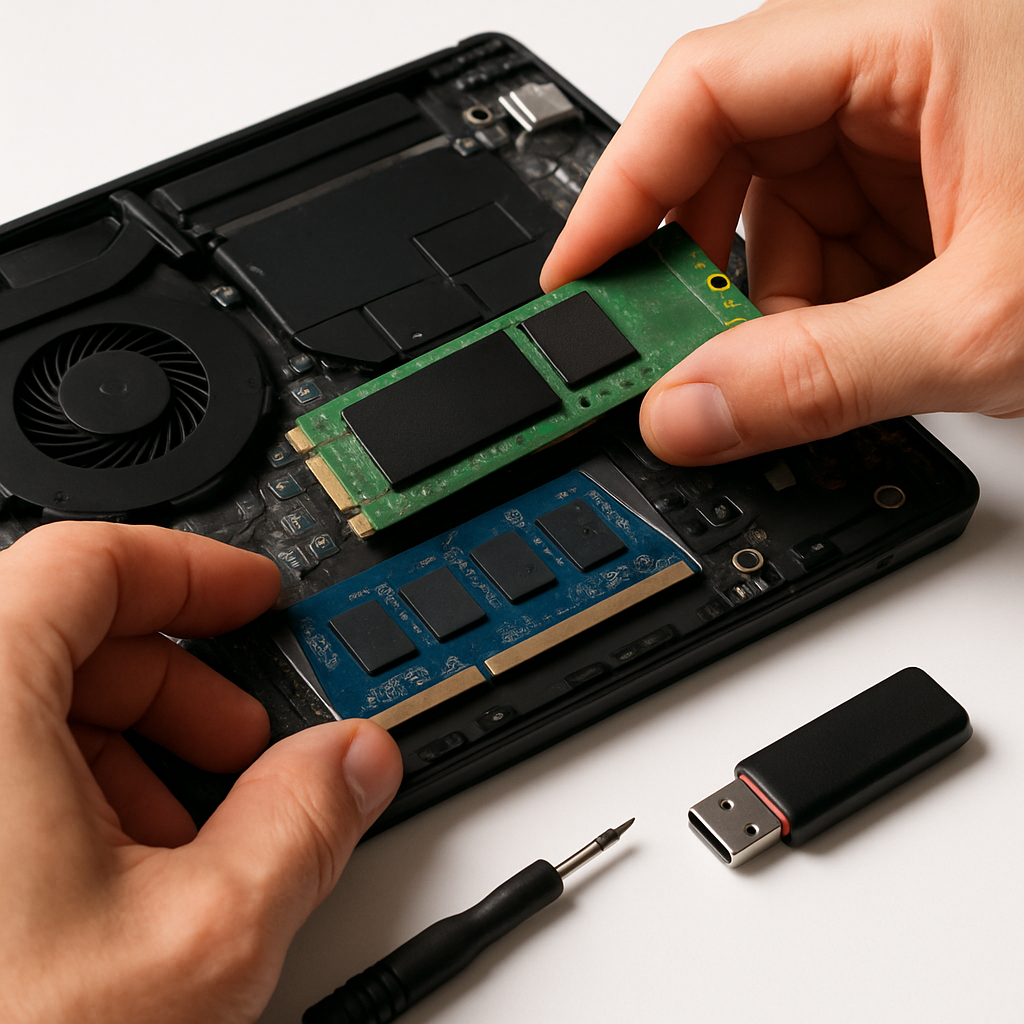
Upgraded to a faster SSD or more RAM but your computer now takes ages to boot? Don’t worry—you can fix this. This friendly, step-by-step guide will help you find the cause and speed up startup safely. By the end, you’ll know what to check in hardware, settings, and your operating system so your machine boots quickly again.
Table of Contents
- Before You Start
- Quick Fix Steps
- Deeper Diagnosis
- Preventive Care
- When to Seek Help
- Frequently Asked Questions
Before You Start
- What you’ll need: a small screwdriver (for desktops/laptops), internet access, your OS password, and 20–60 minutes.
- Difficulty: Easy to Medium. You’ll do simple checks first, then optional deeper steps.
- Safety prep: Shut down the computer. Unplug power and charger. Hold the power button for 10–15 seconds to discharge. Touch metal to ground yourself before touching parts.
- Back up important files to an external drive or cloud. This protects your data if something goes wrong.
- What can go wrong: Wrong firmware settings may stop booting. Firmware (UEFI/BIOS) or SSD firmware updates can fail if power is lost. Be cautious and change one thing at a time.
Warning: Avoid risky actions like registry edits or unofficial “tweak” tools. We won’t use them here.
Quick Fix Steps
-
Power cycle and disconnect extras
- Shut down. Unplug power/charger. Remove USB drives, SD cards, and unplug printers or hubs.
- Plug power back in and boot. If it’s faster, one of the removed devices was slowing startup.
-
Check hardware seating
- Desktop: Open the case. Reseat the SSD cables (SATA data and power) or the NVMe stick (tighten the single screw). Reseat new RAM firmly until the clips click.
- Laptop: If accessible, press RAM and SSD gently into place. Close up and test.
-
Pick the correct startup disk (so your PC/Mac doesn’t wait on the wrong drive)
Windows
- Settings > System > Recovery > Advanced startup > Restart now. Choose Use a device and pick your SSD if listed.
- Or enter your firmware (UEFI/BIOS) at power‑on (often F2, Del, or Esc) and set your SSD as the first boot option. Save and exit.
macOS
- System Settings > General > Startup Disk. Select your SSD as the startup disk. Click Restart.
-
Update your operating system and drivers
Windows
- Settings > Windows Update > Check for updates. Install all important and driver updates. Restart.
macOS
- System Settings > General > Software Update. Install available updates. Restart.
Tip: Updates often include storage, chipset, and boot reliability fixes.
-
Reduce startup delays from software
Windows
- Right‑click the taskbar > Task Manager > Startup apps. Disable items you don’t need at boot (you can re‑enable later).
- Optional test: Turn off Fast Startup to see if it’s causing hangs. Control Panel > Power Options > Choose what the power buttons do > Change settings that are currently unavailable > uncheck Turn on fast startup. Restart and compare.
macOS
- System Settings > General > Login Items. Remove or disable non‑essential items.
-
Try Safe Mode (diagnostic boot)
Windows
- Settings > System > Recovery > Advanced startup > Restart now > Troubleshoot > Advanced options > Startup Settings > Restart > press 4 for Safe Mode.
macOS
- Apple silicon: Shut down. Hold the power button until Options appears. Select your disk, hold Shift, click Continue in Safe Mode.
- Intel Mac: Restart and hold Shift until you see the login window.
If Safe Mode boots much faster, a startup app, driver, or extension is likely the cause.
Deeper Diagnosis
1) Time the phases of boot
- Watch for delays before the logo (hardware/firmware) vs after the logo (operating system).
- Note how long each phase takes. This directs you to the right fix.
2) Check firmware (UEFI/BIOS) settings carefully
- Enter firmware setup at power‑on (keys vary: often F2, Del, Esc—check your manual).
- Boot order: Put your SSD first. Disable Network/PXE boot if you don’t use it.
- SATA SSD users: Ensure SATA mode is AHCI (not IDE/RAID unless you know you need it).
- Prefer UEFI mode over Legacy/CSM for modern systems.
- Optional: Enable firmware “Fast Boot” to reduce hardware checks. If it causes issues, turn it back off.
Warning: Change one setting at a time and note the original value. If the PC won’t boot after a change, return to setup and undo it. Do not update firmware yet—see the step below first.
3) Rule out a failing or misconfigured drive
- Disconnect any old system drive you kept installed. Boot with only the new SSD connected (desktops: unplug the SATA/power from the old drive; laptops: remove extra drive if accessible).
- Windows: Open PowerShell as Administrator and run:
Get-PhysicalDisk | Format-Table FriendlyName, MediaType, HealthStatus. HealthStatus should be Healthy. - Windows: Check TRIM status (helps SSD performance): open Command Prompt (Admin) and run
fsutil behavior query DisableDeleteNotify. A result of 0 means TRIM is enabled. - macOS: Open Disk Utility > select your SSD > First Aid > Run. Fix any found errors.
4) Memory (RAM) checks
- Reseat RAM again: sticks fully down, latches clicked, correct slots per your manual (often A2/B2 for two sticks).
- Windows: Press Windows key, type “Windows Memory Diagnostic” > Restart now and check for problems.
- macOS: Run Apple Diagnostics (search “Use Apple Diagnostics” on Apple’s site for your model’s steps). Look for memory errors.
- If problems began after enabling a memory profile (XMP/EXPO/DOCP), set memory to Auto and test. This can stop long “memory training” at each boot.
5) Startup analysis
- Windows: Event Viewer > Applications and Services Logs > Microsoft > Windows > Diagnostics-Performance > Operational. Look for Event ID 100 (Boot Performance) and note what’s slow.
- macOS: If Safe Mode was faster, remove login items (see Quick Fixes) and uninstall recently added utilities that load at startup.
6) Firmware and SSD updates (advanced but sometimes necessary)
- Only after backups. Use a stable power source (desktop UPS or fully charged laptop).
- Update motherboard/computer UEFI/BIOS using the manufacturer’s official instructions.
- Update SSD firmware using the SSD maker’s official tool or ISO method. Read the release notes first.
Warning: Interrupting a firmware update can brick your device. If you’re unsure, skip this and see “When to Seek Help.”
7) If you cloned the old drive
- Cloned systems sometimes keep old boot entries that slow startup. Re‑select the startup disk (see Quick Fix) and remove the old drive entries in firmware if available.
- Windows: If boot errors persist, use Startup Repair (search “Windows Startup Repair official guide”).
- macOS: If problems persist, reinstall macOS over the top (keeps files/apps) via Recovery. Back up first.
Preventive Care
- Keep OS and drivers updated monthly. Updates fix boot bugs and storage drivers.
- Leave 15–20% free space on your SSD. Very full drives can slow down.
- Review startup apps every few months. Disable what you don’t need.
- Back up regularly (external drive or cloud). Test restoring a small file so you know it works.
- Avoid “registry cleaners” or random optimizer tools. They often cause more harm.
- Dust out desktops yearly. Poor contacts and heat can increase boot time.
- Unplug bootable USB sticks when not in use to prevent boot delays.
When to Seek Help
- Boot time is still over 90 seconds after trying the steps, or it’s slower than before the upgrade.
- You see SMART/drive health warnings, disk errors, or memory diagnostic failures.
- The SSD doesn’t appear in UEFI/BIOS, or the system can’t save boot order changes.
- Frequent crashes, beeps at startup, or fan running at max with no display.
- You’re not comfortable updating firmware, or the system is under warranty—contact the manufacturer or a trusted technician.
With these checks, most slow‑boot issues after an SSD or RAM upgrade can be found and fixed. Start with simple steps: unplug extras, reseat parts, and pick the right startup disk. Then fine‑tune firmware settings, test memory, and verify drive health. If problems remain, don’t hesitate to get professional help—your data and time are worth it.
Frequently Asked Questions
Why is my boot slower after installing a faster SSD?
Common reasons: the system is trying other devices first (USB/network) before your SSD, firmware is set to Legacy/CSM instead of UEFI, the old drive is still confusing boot order, or a startup app/driver is hanging.
Do I need to reinstall Windows or macOS after upgrading?
Usually no. Setting the correct startup disk and updating drivers/OS fixes most issues. Reinstall is a last resort if cloning left broken boot entries or system files are damaged. Back up first.
Should I disable Windows Fast Startup?
Not always. It can speed boot, but on some systems it causes hangs. Try turning it off as a test; keep whichever setting gives the most reliable startup.
Is Safe Mode safe to use?
Yes. Safe Mode loads minimal drivers. If boot is faster there, remove or update the apps and drivers that load normally at startup.
Leave a Reply