
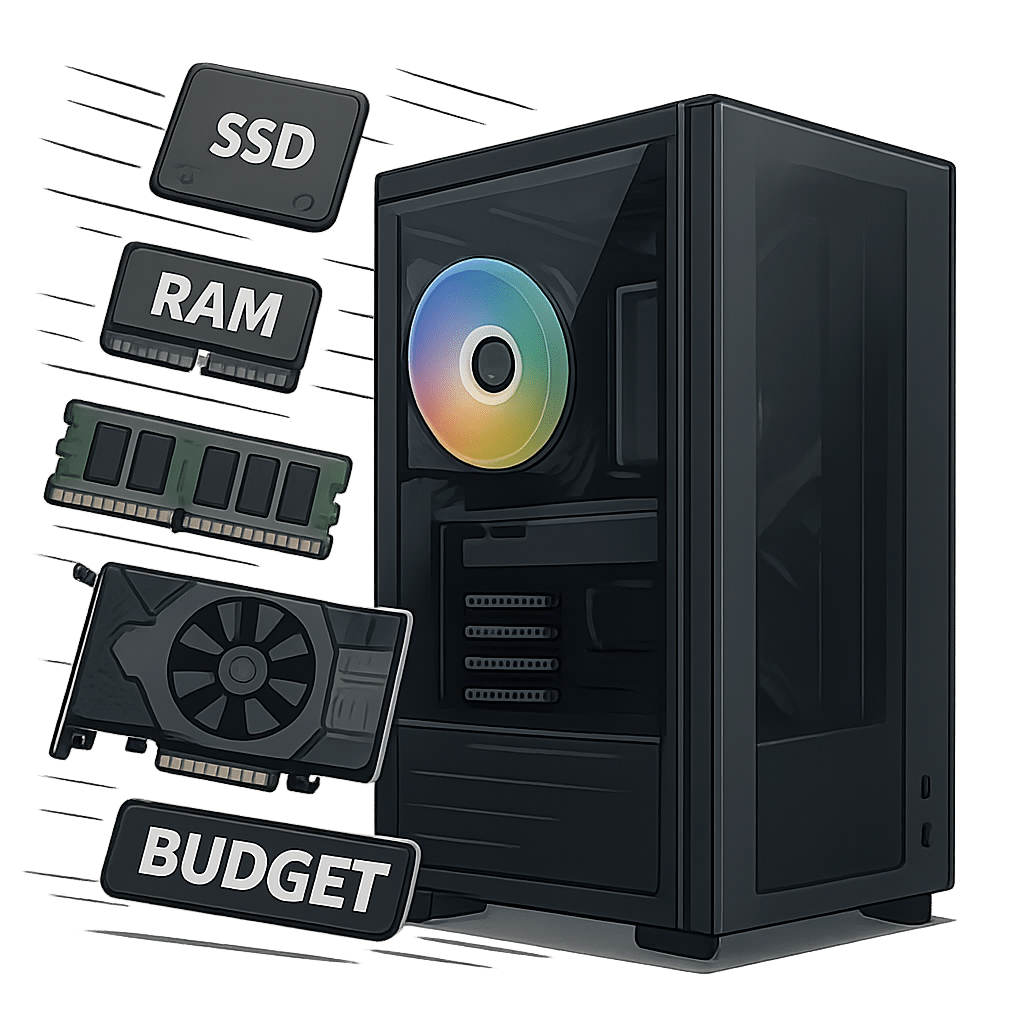
Want your PC to feel faster without spending a fortune? The right upgrades can multiply performance for work, gaming, and everyday tasks. This guide breaks down affordable changes that deliver the biggest gains, how to pick compatible parts, and a smart order of operations so you get the most speed per dollar.
Table of Contents
- Why Affordable Upgrades Matter
- Quick Compatibility Checklist
- Upgrade 1: Switch to an SSD or Faster NVMe
- Upgrade 2: Add More RAM
- Upgrade 3: Graphics Card on a Budget
- Upgrade 4: CPU Upgrades That Make Sense
- Upgrade 5: Cooling, Airflow, and Thermal Paste
- Upgrade 6: Clean Install and OS Tweaks
- Bonus: Small Upgrades With Outsized Impact
- Sample Budgets and Build Paths
- Step-by-Step Upgrade Plan
- Common Pitfalls to Avoid
- Conclusion
- Frequently Asked Questions
Why Affordable Upgrades Matter
New PCs are nice, but incremental upgrades often deliver most of the real-world speed for a fraction of the cost. Many systems are held back by one or two bottlenecks: slow storage, insufficient memory, or inadequate cooling. Fixing those choke points can transform responsiveness, load times, and stability.
Better yet, strategic upgrades extend system life. That means less e-waste and more value from what you already own. Focus on parts you can carry forward to a future build, like SSDs, cases, power supplies, and coolers.
Quick Compatibility Checklist
Before you buy, verify these basics to avoid returns and headaches:
- Motherboard: CPU socket, chipset, BIOS version, memory support, M.2 slots, PCIe version.
- Power supply: Wattage headroom, efficiency rating, required GPU power connectors.
- Case clearance: GPU length, CPU cooler height, radiator or fan space.
- Physical slots: Free RAM slots, M.2/2.5-inch bays, PCIe slots.
- Thermals: Airflow path, dust levels, existing fan count.
- Operating system: Activation key, backup method, drivers available.
Tip: Take photos of your current internals and labels. They are handy for part numbers and cable routing later.
Upgrade 1: Switch to an SSD or Faster NVMe
If you still boot from a hard drive, moving to an SSD is the single biggest upgrade you can make. Even replacing an older SATA SSD with a modern NVMe can cut load times further and improve multitasking.
Sizing and interface
- SATA SSD: Works in almost any desktop or laptop with a 2.5-inch bay; dramatic jump from HDD.
- NVMe SSD: Uses M.2 slot; faster for big file transfers, installs, and heavy multitasking.
- Capacity: 500 GB is a sweet spot for budget builds; 1 TB offers headroom for games and media.
Expected gains
- Boot and app launch times cut from minutes to seconds.
- Snappier system responsiveness; less stutter during updates or antivirus scans.
- Games and creative apps load levels, assets, and previews faster.
How to do it
- Back up important files.
- Install the SSD: M.2 drives slide into the slot; SATA SSDs mount with a data cable to motherboard and power from PSU.
- Clone your old drive or perform a clean OS install for best results.
Cost: Often the best value per dollar. SATA SSDs are very affordable, and entry NVMe drives are competitively priced.
Upgrade 2: Add More RAM
Insufficient memory forces your system to swap to disk, which tanks performance. Many users still run 8 GB, which can bottleneck modern browsers, office suites, and games.
How much is enough
- General use and office: 16 GB recommended.
- Gaming and light content creation: 16–32 GB, depending on titles and plugins.
- Heavy creative work or virtual machines: 32 GB or more.
Speed and configuration
- Dual-channel: Install matched pairs for higher bandwidth.
- Frequency: Aim for your platform sweet spot (e.g., DDR4-3200 or DDR5-5600, depending on CPU support).
- Timings and XMP/EXPO: Enable the profile in BIOS to run advertised speeds.
Expected gains: Fewer slowdowns under load, smoother tab switching, and better minimum frame rates in memory-heavy games.
Upgrade 3: Graphics Card on a Budget
For gaming and GPU-accelerated workloads, a better graphics card can be transformative. You do not need the latest flagship to see big returns.
Smart buying tips
- Target mid-range models where price-to-performance is strongest.
- Consider reputable used or refurbished options to stretch your budget.
- Check PSU wattage and 6/8-pin power connectors before purchase.
- Match resolution: Balance GPU choice with your monitor (1080p vs. 1440p).
Expected gains
- Higher frame rates and visual settings in games.
- Faster exports or previews in supported creative apps.
- Improved hardware decoding for smoother video playback.
Note: A very old CPU can bottleneck a new GPU. Check benchmarks for your processor and plan accordingly.
Upgrade 4: CPU Upgrades That Make Sense
CPU upgrades can be cost-effective if you stay within your motherboard’s socket and power limits. Often, a higher-tier chip from the same generation is inexpensive on the used market.
When to upgrade
- Productivity tasks like coding, spreadsheets, or compiling feel slow.
- Games show low CPU usage headroom and unstable minimum frame rates.
- You are limited to very low settings due to CPU-bound bottlenecks.
Checklist
- BIOS support: Update first if needed.
- Cooler: Ensure it can handle the new chip’s TDP.
- VRM quality: Entry boards may not sustain high-power CPUs well.
Value tip: A last-gen i5 or Ryzen 5 often offers the best balance for budget upgrades.
Upgrade 5: Cooling, Airflow, and Thermal Paste
Thermal throttling silently steals performance. Better airflow and fresh thermal paste can unlock clocks you already paid for.
Easy wins
- Reapply thermal paste to the CPU if it is a few years old.
- Add case fans to create a front-to-back airflow path.
- Clean dust filters, heatsinks, and fan blades thoroughly.
Cooler choices
- Tower air coolers: Excellent value and quiet operation.
- 120/240 mm AIOs: Good for compact builds or aesthetic goals.
Expected gains: More consistent boost clocks, quieter operation, and longer component life.
Upgrade 6: Clean Install and OS Tweaks
Software clutter can make even good hardware feel slow. A clean operating system and a few settings optimizations round out your upgrade plan.
Quick wins
- Fresh OS install after swapping to a new SSD.
- Update chipset, GPU, LAN, and storage drivers from vendor sites.
- Disable unneeded startup apps and background services.
- Enable hardware-accelerated GPU scheduling where supported.
- Use balanced or high-performance power plans appropriately.
Result: Fewer background hiccups, faster boot, and smoother multitasking.
Bonus: Small Upgrades With Outsized Impact
Not every improvement requires a major part swap. These low-cost tweaks add polish and stability.
- Wi-Fi 6 or faster Ethernet adapter for lower latency and better throughput.
- Better mouse, keyboard, or monitor for real productivity and comfort gains.
- Fan curve tuning in BIOS or software for quieter, cooler operation.
- Undervolting GPUs and CPUs to reduce heat without losing performance.
- Cable management to improve airflow and ease future upgrades.
Sample Budgets and Build Paths
About $100
- 500 GB SATA SSD or entry NVMe for OS and apps.
- Thermal paste and an extra 120 mm case fan.
Impact: Night-and-day system responsiveness plus cooler, quieter running.
About $200
- 1 TB NVMe SSD.
- Upgrade to 16 GB RAM if currently on 8 GB.
Impact: Faster loads, no more tab-swap stutter, and smoother gaming minimums.
About $300–$400
- Mid-range used or previous-gen GPU, plus RAM bump to 16–32 GB if needed.
- Optional tower air cooler for sustained performance.
Impact: Major uplift in gaming and accelerated creative workflows.
Step-by-Step Upgrade Plan
Use this order to stack gains and avoid rework:
- Measure performance now: Boot time, a few game or app benchmarks, and idle/load temps.
- Storage first: Install or migrate to SSD/NVMe and clean install the OS if possible.
- Memory next: Move to 16–32 GB in dual-channel; enable XMP/EXPO.
- Cooling and airflow: Fresh thermal paste, dust cleaning, and fan additions.
- GPU upgrade: Balance with PSU capacity and monitor resolution.
- CPU refresh: Only if still bottlenecked; verify BIOS and cooling.
- Final polish: Driver updates, startup trimming, and fan curve tuning.
Re-test after each step. This shows which upgrades helped most and catches issues early.
Common Pitfalls to Avoid
- Ignoring the power supply: Underpowered or aging PSUs cause crashes under load.
- Mixing incompatible RAM kits: Stick to matched modules for stability.
- Neglecting BIOS updates: Newer CPUs and RAM speeds may require them.
- Blocking airflow with cables: Tidy routes to reduce heat buildup.
- Skipping ESD precautions: Ground yourself and work on a non-conductive surface.
- Buying the fastest part that the rest of your system cannot use: Balance matters.
Conclusion
You do not need a new PC to feel a big speed increase. Start with an SSD, add enough RAM, tidy your cooling, and then target a GPU or CPU upgrade that matches your actual workloads. Each step removes a bottleneck, making your system faster, quieter, and more reliable.
Measure, upgrade, re-measure. That simple loop ensures every dollar you spend translates into visible, lasting performance gains.
Frequently Asked Questions
Is it worth upgrading an older PC, or should I buy new?
Check your platform’s upgrade ceiling. If you can add an SSD, reach 16–32 GB RAM, and drop in a stronger CPU or mid-range GPU, upgrading is often the better value. If you are stuck on very old sockets with no viable parts, a new platform may make more sense.
Do I need to reinstall Windows after moving to an SSD?
You can clone your current drive, but a clean install typically delivers the best stability and speed. Back up files, create installation media, and install fresh drivers afterward.
Will a new GPU bottleneck with my old CPU?
It depends on the game and resolution. CPU-heavy titles at high frame rates expose CPU limits, while higher resolutions shift load to the GPU. Look up benchmarks for your specific CPU and consider a balanced GPU choice.
How do I know if my power supply can handle an upgrade?
Check the label for wattage and the number of 6/8-pin PCIe connectors. Compare to the GPU’s recommended PSU rating and add headroom for your CPU and peripherals. Quality and age matter; older low-tier PSUs can underperform.
Leave a Reply