
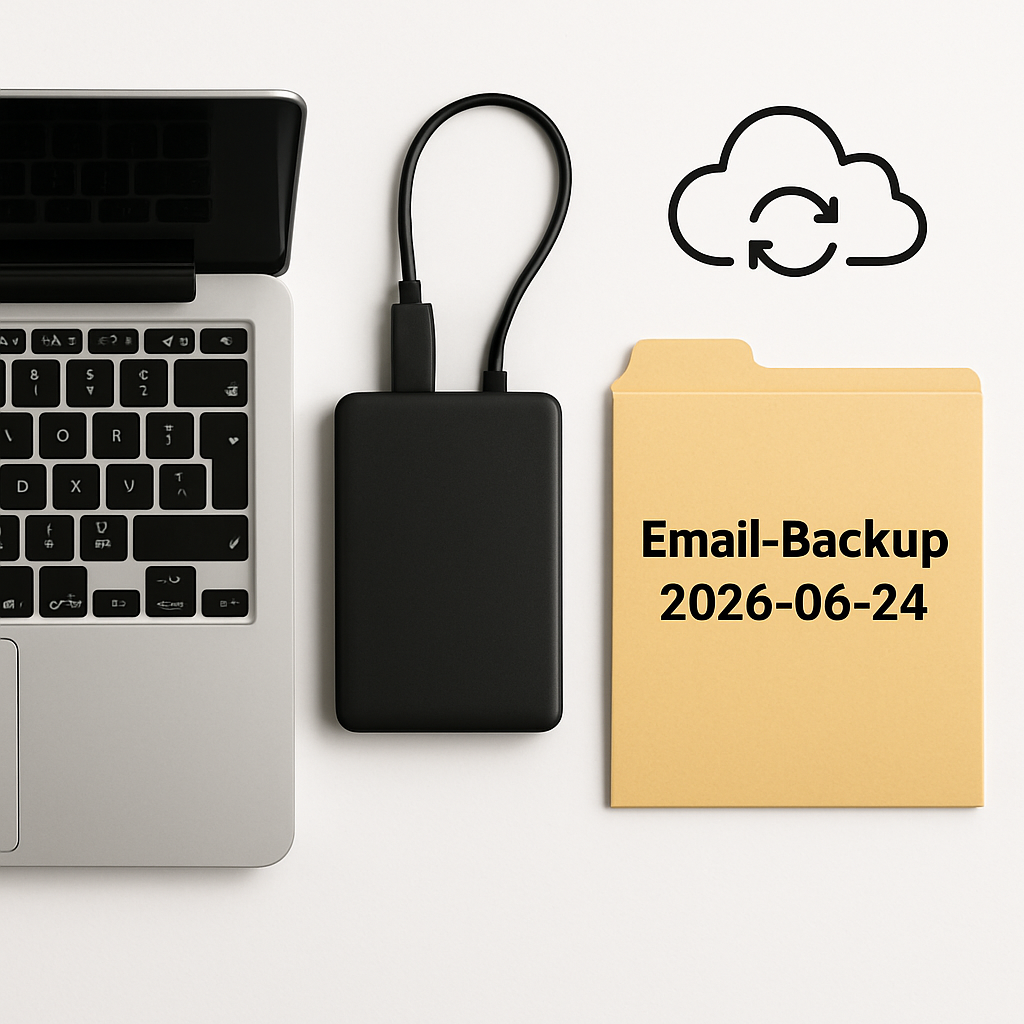
Want peace of mind that your email won’t vanish if your computer breaks or you switch devices? This guide shows you, step by step, how to back up and restore your email app’s data safely on Windows and macOS, with notes for iOS and Android. You’ll learn quick ways to export mail, copy your app’s data folder, and bring everything back if you need to restore.
Table of Contents
- Before You Start
- Quick Fix Steps
- How to Back Up Email App Data
- How to Restore Email App Data
- Deeper Diagnosis
- Preventive Care
- When to Seek Help
- Conclusion
- Frequently Asked Questions
Before You Start
Backing up email app data means saving your messages, folders, and settings somewhere safe (like an external drive or trusted cloud storage). Restoring means putting that data back so your app can use it again.
- What you need: an external drive or a cloud folder with enough free space, and your email passwords (plus any 2-step verification backup codes).
- Difficulty: Easy to Medium. Time: 20–60 minutes, depending on mailbox size.
- Risk: Low, if you copy files. Higher if you overwrite existing data. Always make a new backup copy before you restore.
- What can go wrong: copying while the email app is open (files may corrupt), restoring files to the wrong folder, restoring temporary cache files that won’t load, or mixing POP and IMAP accounts incorrectly.
Warning: Avoid registry edits, unofficial “tweaks,” or random recovery tools. Do not factory reset your computer just to fix mail issues—try the safe restore options first.
Quick Fix Steps
- Check your account type in your email app’s Account/Settings. If it says IMAP or Exchange, most mail lives on the server. If it says POP, messages may live only on your computer—back up carefully.
- Use the app’s built-in export. Look for File > Export > Mail/Local Folders, and File > Export > Contacts/Calendar. Save the files to your external drive.
- Close the email app completely. Then copy its data folder (your “profile” or “mail store”) to your backup drive. See steps by OS below.
- Label the backup folder with today’s date, like “Email-Backup-2026-06-24.”
- Test your backup: try importing one exported mailbox into a test profile or different computer user account, or verify the folder contains your mail files and is a reasonable size.
- Write down or screenshot your account settings (server names, ports, security). Keep this with your backup.
How to Back Up Email App Data
Windows (PC)
- Close your email app. If unsure, right-click the taskbar, open Task Manager, and end any process with your email app’s name.
- Open File Explorer. Turn on Hidden items (View > Show > Hidden items).
- Go to your roaming profile folder:
%APPDATA%. In the address bar, type%APPDATA%and press Enter. Also check%LOCALAPPDATA%. - Open the folder that matches your email app’s name. Common locations include:
%APPDATA%\[EmailAppName]%LOCALAPPDATA%\[EmailAppName]
If you’re unsure, search within
%APPDATA%and%LOCALAPPDATA%for “Mail,” “Profile,” or your app name. - Right-click the folder and select Copy. Paste it into your external drive or cloud folder. Optional: right-click > Send to > Compressed (zipped) folder to save space.
- In your email app, if available, also export mail/contacts/calendar via File > Export. Save those files to the same backup location.
Tip: Keep both kinds of backups: a simple file copy of the data folder and exported mailbox files. If one method fails, the other often works.
macOS
- Quit your email app. Right-click its Dock icon and choose Quit.
- Open Finder. Click Go on the menu bar. Hold Option and click Library.
- Open
~/Library/Application Support/and look for a folder with your email app’s name. Also check~/Library/Containers/or~/Library/Group Containers/and search for your app’s name. - Copy the entire app folder(s) to your external drive or cloud folder. Optional: right-click > Compress to zip it.
- In your email app, if available, use File > Export to save mail/contacts/calendar to the same backup location.
Note: Some email apps store data across both Application Support and Containers. If you see multiple folders with the app’s name, back them all up.
iOS (iPhone/iPad)
- Most iOS mail apps use IMAP or Exchange, so mail syncs from the server. Ensure your email account signs in correctly and 2-step verification backup codes are saved.
- Back up device settings and accounts: Settings > [Your Name] > iCloud > iCloud Backup > Back Up Now.
- Save important attachments to Files or a cloud folder so they’re easy to restore.
Android
- Most Android mail apps sync mail from the server. Confirm Sync is On in your account settings.
- Back up device settings and accounts: Settings > Google > Backup > Back up now.
- Save key attachments to Downloads or a cloud folder you also use on your PC/Mac.
How to Restore Email App Data
Warning: Never restore while the email app is open. Always keep your backup untouched. If something goes wrong, you can try again.
Windows (PC)
- Install/open your email app once, then close it. This creates default folders.
- Open File Explorer, turn on Hidden items, and browse to
%APPDATA%and/or%LOCALAPPDATA%. - Find the current data folder for your app. Rename it by adding
.oldto the end (for example,Profiles.old). - Copy your backed-up folder from your drive into the same location. Keep folder names identical to how they were when backed up.
- Open the email app. If it asks about profiles or data locations, choose the restored folder.
- Import any exported mail/contacts/calendar via File > Import. Point the app to your exported files.
Note: Some files are only temporary caches and won’t restore usable mail. If your mail doesn’t reappear, try the app’s Import feature using your exported mailbox files.
macOS
- Install/open your email app once, then quit it.
- In Finder, Go > Library. Open
~/Library/Application Support/(and~/Library/Containers/if needed). - Rename the current app data folder(s) by adding
.old. - Copy your backed-up folder(s) into the same place. Keep original folder names.
- Open the email app. Confirm your mail and folders appear.
- Use File > Import to bring in any exported mail/contacts/calendar, if needed.
Tip: If you use Time Machine, you can also enter Time Machine in the Library folders and restore the app’s folder from the date you want.
iOS and Android
- Usually, re-adding the email account restores your mail: open your Mail app, add account, sign in, and wait for sync.
- Restore device backup if needed (iOS iCloud Backup or Android Google Backup). Then sign in to your email account.
- Re-download attachments you saved to cloud storage or Files/Drive.
Deeper Diagnosis
- Check account type: In your email app’s account settings, confirm IMAP/Exchange vs POP. IMAP/Exchange resync from the server; POP may keep messages only on your computer. If POP, make sure you exported or copied the mail store before changing anything.
- Verify free space: Leave at least 2–3× the mailbox size free on the destination drive for copying/unzipping. On Windows, open Settings > System > Storage. On macOS, click Apple menu > About This Mac > Storage.
- Close background processes: If copy errors appear, make sure the email app is closed. On Windows, use Task Manager. On macOS, use Activity Monitor.
- Folder path sanity check: Your restored folder name and structure must match what the app expects. If unsure, let the app create a fresh profile, note the path, then replace that folder with your backup (after renaming the fresh one to
.old). - File health: If your mailbox files are 0 bytes or unusually tiny, they may be corrupt. Try importing from your exported mailbox files instead of using the folder copy.
- Permissions: If you see “Access denied,” copy the backup to your user Documents folder first, then into the Library/AppData path. Approve any permission prompts.
Preventive Care
- Use the 3-2-1 rule: 3 copies of your data, on 2 different types of storage, with 1 copy off-site (e.g., cloud).
- Schedule backups: Weekly for active accounts, monthly for light use. Keep at least three dated backups.
- Turn on system backups: Windows File History or another trusted backup tool; macOS Time Machine. Add your email app’s data folder to the backup sources.
- Prefer IMAP/Exchange over POP. If you must use POP, enable “Leave messages on server” in your app so you also have a server copy.
- Keep passwords and 2-step verification backup codes in a safe password manager. Without them, you may not be able to restore or sign in.
- Safe downloads: Only get email apps or add-ons from trusted sources. Avoid “email recovery” tools unless recommended by your provider’s official support.
When to Seek Help
- Work or school accounts that mention encryption, compliance, or retention policies. Contact your IT support before moving data.
- Mailbox larger than 20 GB, repeated crashes, or copy errors you can’t resolve. A professional can migrate large data safely.
- Can’t sign in due to 2-step verification or lost passwords. Contact your email provider’s official support for account recovery.
- Suspected malware, phishing, or unexpected password prompts after restore. Pause and get help to protect your account.
Conclusion
You’ve learned how to back up and restore your email safely: export mail and contacts, copy your app’s data folder, and bring it back when needed. With a regular backup routine and clear records of your settings and passwords, you can switch computers, recover from problems, and keep your messages safe.
Frequently Asked Questions
What’s the difference between IMAP and POP?
IMAP keeps mail on the server and syncs with your devices. POP usually downloads mail to one device. If you use POP, back up carefully and consider leaving messages on the server.
Is copying the data folder enough?
Often yes, but it’s safer to do both: copy the data folder and export mail/contacts. If one method fails, you can use the other to restore.
Can I restore on a new computer or a different OS?
Usually yes. Install the same email app version if possible, then import your exported mail/contacts. Folder copies may be app- and OS-specific; exports are more portable.
How often should I back up?
Back up weekly if you use email daily; monthly if you use it less. Keep at least three recent backups and one off-site copy.
Leave a Reply