
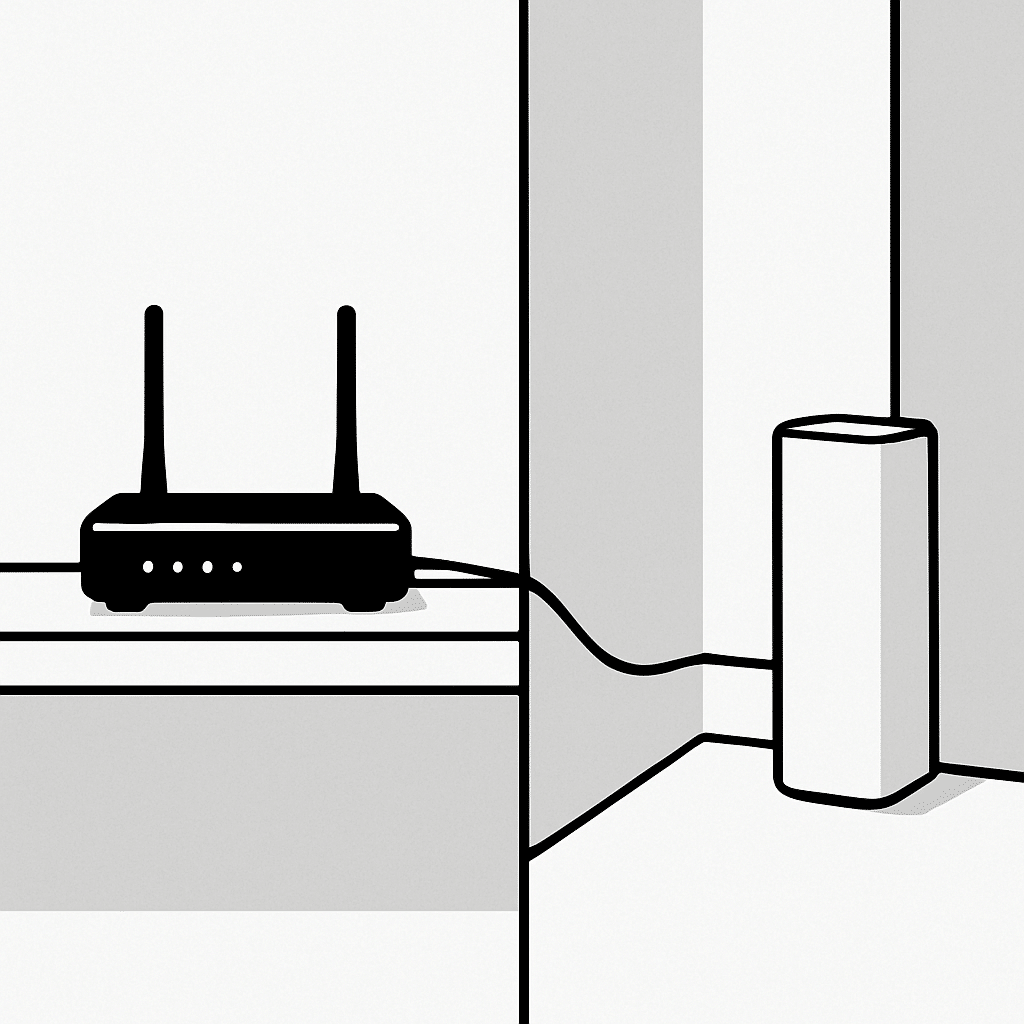
Want stronger Wi‑Fi in every room? This guide shows you exactly where to place a mesh node, Wi‑Fi extender, or powerline adapter near your router for the best speed and stability. You’ll learn quick placement wins, how to check signal quality on your devices, and when to call for help—no jargon required.
Table of Contents
- Before You Start
- Quick Fix Steps
- Understand Your Gear
- Placement Basics
- Place Mesh Nodes
- Place Wi‑Fi Extenders
- Place Powerline Adapters
- Deeper Diagnosis
- Preventive Care
- When to Seek Help
- Conclusion
- Frequently Asked Questions
Before You Start
Router: the box that creates your home Wi‑Fi network. Mesh node/extender: devices that repeat or extend Wi‑Fi. Powerline adapter: uses your home’s electrical wiring to carry network data.
- What you need: your router login or app, the device you’re placing (mesh node, extender, or powerline kit), and a phone or laptop.
- Time: 20–45 minutes for placement and testing.
- Difficulty: Easy to Medium.
- What can go wrong: weak signal if placed too far; interference from appliances; poor powerline speed on old wiring; duplicated networks if misconfigured.
Warning: Avoid a factory reset unless you are locked out and have your setup details backed up. A reset erases all settings. Only download installers or apps from the device maker’s official site or your device’s app store.
Quick Fix Steps
- Move your router to a central, open spot, away from thick walls, metal, and large TVs. Raise it on a shelf if possible.
- Place the mesh node or extender where your phone still shows 2–3 bars of the main router’s Wi‑Fi (often 1–2 rooms from the router). For powerline, use a wall outlet near the router.
- Keep all devices away from interference sources: microwave ovens, cordless phone bases, baby monitors, Bluetooth hubs, fish tanks, and mirrors.
- Use direct wall outlets. Do not plug powerline adapters or routers into surge protectors or power strips; they reduce performance.
- Check indicator lights. If the device shows a “weak link” color, move it a few feet closer to the router. Small moves can help.
- Whenever possible, wire the backhaul: connect the mesh node or extender to the router with an Ethernet cable for best stability.
- Reboot the router and the device after placement to let them pick the best channel and power level.
Understand Your Gear
- Mesh system: multiple nodes that act as one network. Your devices roam smoothly between nodes.
- Wi‑Fi extender (repeater): rebroadcasts the router’s Wi‑Fi. Often needs to be closer to the router than you think.
- Powerline adapters: one near the router, one near the far room. They talk over electrical wiring using Ethernet cables at each end.
- Backhaul: the path from node/extender to the router. Wired backhaul (Ethernet) beats wireless backhaul.
Placement Basics
- Start where the signal is still strong. Extenders and mesh nodes can’t amplify what they can’t receive.
- Height helps. Waist to head height on open shelves works better than on the floor or behind furniture.
- Line of sight is best. If walls are thick, try placing devices near doorways or stairwells.
- 2.4 GHz goes farther but is slower; 5 GHz and 6 GHz are faster but prefer closer, clearer paths.
Check Wi‑Fi signal on your device
- Windows: Settings > Network & Internet > Wi‑Fi > your network. Or open Command Prompt and run
netsh wlan show interfaces. “Signal” above 70% is usually good. - macOS: Hold Option and click the Wi‑Fi icon to see RSSI. Values around -30 to -67 dBm are good (closer to -30 is stronger).
- iOS: Settings > Wi‑Fi > tap your network. Use the number of Wi‑Fi bars as a quick guide.
- Android: Settings > Network & Internet (or Connections) > Internet/Wi‑Fi > tap your network to see Signal strength.
Place Mesh Nodes
Recommended starting points
- First node: about 1–2 rooms from the router where your device still shows strong signal.
- Additional nodes: place so each has a strong link to either the router or the previous node. Avoid long chains if possible.
- If you can run Ethernet to a node (wired backhaul), you can place it farther away because it no longer depends on wireless link quality.
Setup checklist
- Power on the node in its trial spot. Wait for the status light to settle.
- Use the system’s app or web page to add the node. Follow on‑screen steps until the node shows a “good link.”
- If the app reports a weak link, move the node 3–10 feet closer to the router and retest.
- Test with a phone or laptop in the far room. Run a speed test and try streaming a video.
Tip: Keep nodes in open areas. Avoid cabinets, basements, and closets unless you have wired backhaul.
Place Wi‑Fi Extenders
Best locations
- Midpoint between the router and the dead zone, but still in strong router coverage (2–3 bars).
- 1 room away from the router is common. If speeds drop, move closer to the router.
Setup checklist
- Plug the extender into a wall outlet in the chosen spot. Wait for its ready light.
- Connect it to your router using the device’s setup method (web setup or app). Avoid guesswork—follow the on‑screen wizard.
- Prefer manual setup over WPS in apartments or shared buildings.
- If you do use WPS: press the router’s WPS button, then the extender’s, within 2 minutes. Move the extender only after it shows a solid link.
- Test from the far room. If speeds are poor, move the extender closer to the router and try again.
Warning: WPS (one‑button pairing) can be less secure in dense housing. Turn it off after setup if your device allows, and use strong Wi‑Fi passwords.
Place Powerline Adapters
Best practices
- Use wall outlets only—no surge protectors, power strips, or UPS units.
- Keep adapters on the same electrical circuit if possible. Performance may drop across different phases or old wiring.
- Avoid outlets near noisy appliances (laundry, refrigerators) when you can.
Setup checklist
- Near the router: plug Adapter A into a wall outlet. Connect it to a LAN port on the router with Ethernet.
- In the far room: plug Adapter B into a wall outlet. Press the Pair button on A, then on B (usually within 2 minutes).
- Wait for the “linked” or “encrypted” lights on both adapters to turn solid.
- Connect your device (or a mesh node/extender) to Adapter B with Ethernet.
- Test speeds. If slow, try a different outlet in the same room, or move Adapter B one room closer and retest.
Note: Powerline performance varies by home. If you get under half your router‑side speed even after trying multiple outlets, consider a mesh node with wired backhaul or MoCA (coax) if available.
Deeper Diagnosis
Check router link quality
- Find your router’s address:
- Windows: open Command Prompt and run
ipconfig. “Default Gateway” is your router (for example,192.168.1.1). - macOS: System Settings > Wi‑Fi > Details > Router. Or Terminal:
netstat -nr | grep default. - iOS: Settings > Wi‑Fi > tap the “i” next to your network > Router.
- Android: Settings > Wi‑Fi > your network > Advanced > Gateway.
- Windows: open Command Prompt and run
- Open a browser and go to the router address (for example,
http://192.168.1.1). Sign in. - Look for a network map or wireless status page. Check the link quality of the mesh node/extender or the signal of your devices.
Warning: Do not change advanced settings you don’t understand. If you change channels or power levels, note the originals so you can revert.
Reduce interference
- Move devices at least 3–6 feet away from microwave ovens, cordless phone bases, and baby monitors.
- On 2.4 GHz, try channels 1, 6, or 11. Use your router’s “Auto” channel if it works well.
- Use 5 GHz or 6 GHz for faster backhaul when the node is nearby and has clear line of sight.
Test methodically
- Run a speed test near the router (baseline).
- Run the same test next to the mesh node/extender.
- Run it in the far room. If speed collapses, move the device closer to the router or switch to wired backhaul.
Preventive Care
- Update firmware from the official router or device admin page. Back up settings first if the option exists.
- Label outlet locations that tested well. Keep devices dust‑free and with airflow.
- Use a strong, unique admin password. Only install official apps. Avoid third‑party “boosters.”
- Disable WPS after setup if your device allows. Use WPA2/WPA3 security.
- If possible, plan a wired backhaul (Ethernet or MoCA) to distant rooms for long‑term stability.
When to Seek Help
- Your mesh node or extender never shows a good link after 3+ placement tries.
- Powerline speeds stay very low (for example, under 20–30 Mbps) even in the same room as Adapter A.
- You see frequent drops or reboots, or your router crashes.
- Your home has very thick walls or unusual wiring. A professional can advise on cable runs or alternative solutions.
- Your ISP modem shows warning lights (not “Online”). Contact your ISP.
Conclusion
Good placement makes a big difference. Put mesh nodes and extenders where the router signal is still strong, raise them up, and keep them clear of interference. For powerline, use wall outlets and test a few locations. When in doubt, move a little closer, or switch to wired backhaul for rock‑solid performance.
Frequently Asked Questions
What’s better: mesh, extender, or powerline?
Mesh gives seamless coverage for most homes. Extenders are quick and cheap but can cut speeds if placed too far. Powerline can be great if your wiring is friendly; otherwise, results vary.
How far from the router should I place a mesh node?
Start 1–2 rooms away where the router’s Wi‑Fi is still strong. If the app shows a weak link, move the node 3–10 feet closer and retest.
Should I use 2.4 GHz or 5/6 GHz for backhaul?
Use 5 or 6 GHz when the node has a clear path to the router for higher speeds. Use 2.4 GHz only when you need more range through walls, accepting lower throughput.
Can I mix brands?
For mesh, use the same brand and family so nodes work together properly. Extenders and powerline can often mix with routers, but features and performance may vary.
Leave a Reply