
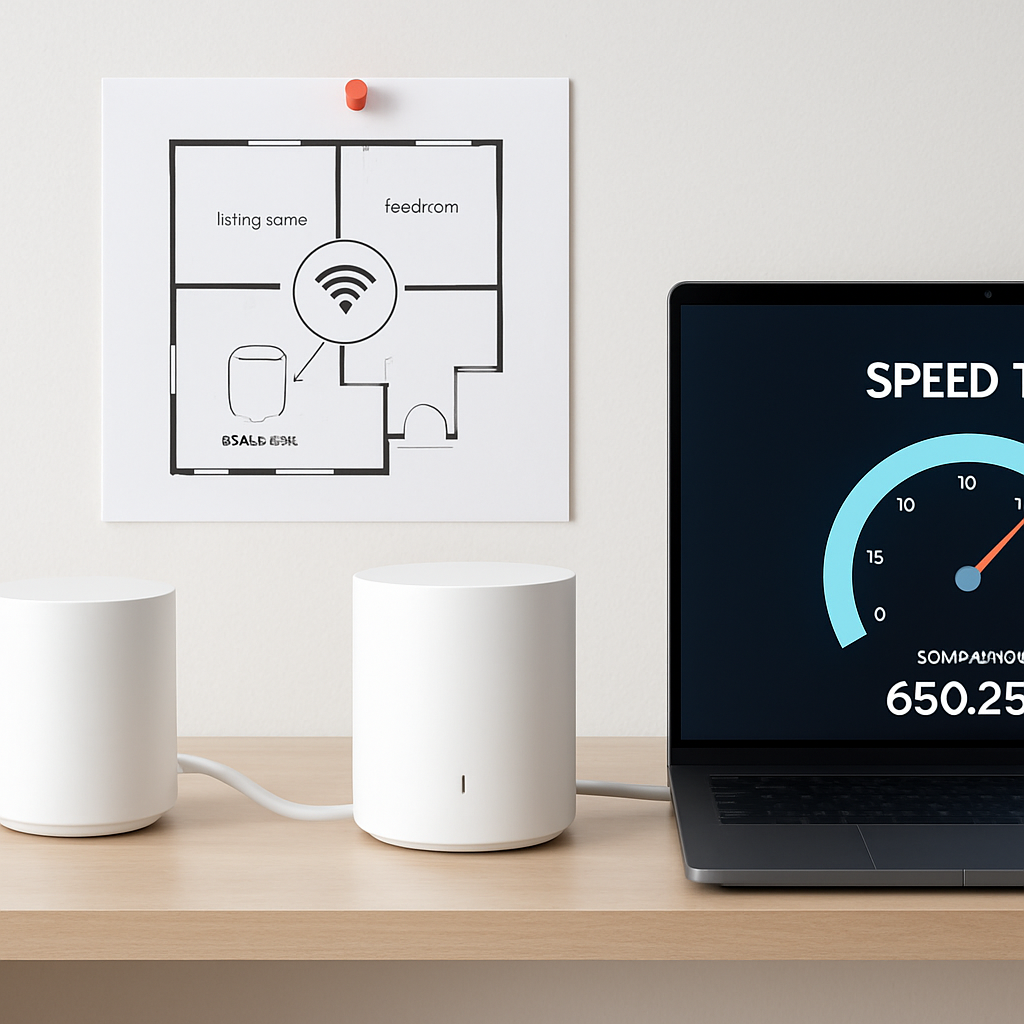
Dead zones and slow spots at home? This guide shows you how to move your modem or router and place mesh nodes for stronger, more reliable Wi‑Fi. You will map your space, place equipment safely, and test your results—no networking degree required.
Table of Contents
- Before You Start
- Quick Fix Steps
- Deeper Diagnosis
- Placing Your Modem or Router
- Placing Mesh Nodes
- Testing and Optimizing
- Preventive Care
- When to Seek Help
- Frequently Asked Questions
Before You Start
Quick terms: Modem: the box from your internet company that brings service into your home. Router: the box that creates your home Wi‑Fi network. Mesh node: an extra Wi‑Fi point that works with your router to extend coverage.
What you need
- Paper or your phone to sketch a simple floor plan.
- Labels or tape to mark cables. Take a photo of current connections.
- 2–3 Ethernet cables (Cat5e or Cat6), a power strip, and cable clips or ties.
- Access to your router’s admin page (username/password). If unsure, check the label on the device.
Time and difficulty
- Time: 45–90 minutes for most homes.
- Difficulty: Easy to Medium.
What can go wrong
- Wrong cable in wrong port (Internet/WAN vs LAN). Label before unplugging.
- Modem loses connection if moved from an active jack to an inactive one.
- Weak mesh links if nodes are too far apart or blocked by thick walls.
Warning: Power off devices before moving cables. Do not press the tiny “Reset” button on your router or modem unless you are ready to erase all settings. A factory reset removes your Wi‑Fi name, password, and custom settings.
Tip: Screenshot or write down your Wi‑Fi name (SSID) and password before you start.
Quick Fix Steps
- Move your router to a more central, open spot. Avoid closets, cabinets, and the floor. Elevate it on a shelf or table.
- Keep it away from large metal objects, aquariums, microwaves, and thick mirrors. Give it breathing room (2–4 inches around vents).
- Reboot in order: unplug modem (and any fiber box), then router. Wait 30 seconds. Plug in modem/fiber box; wait 2–5 minutes for lights to stabilize. Then power the router.
- Use the 5 GHz or 6 GHz band for speed near the router. Use 2.4 GHz for longer range. Most routers offer both under one network name; your devices usually pick the best band.
- Place a mesh node halfway between the router and a dead zone, not inside the dead zone. One or two interior walls is usually OK; more than that is risky.
- If possible, connect a mesh node to the router with Ethernet (called “Ethernet backhaul”) for the best stability.
- Retest Wi‑Fi in problem rooms. If speeds improve, you can stop here.
Deeper Diagnosis
1) Check modem and router lights
Look for “Power,” “Online/Internet,” and “Ethernet/WAN” lights on the modem, and “Internet/WAN” and “Wi‑Fi” lights on the router. Solid or slowly blinking usually means normal; fast blinking red/orange often means trouble.
Note: If your home has a fiber box (ONT), don’t unplug the fiber cable. Only use the power plug and Ethernet.
2) Open the router’s admin page
- Find your default gateway (the router’s IP address), then type it in a web browser address bar, like
http://192.168.1.1orhttp://192.168.0.1. Sign in.
Windows
- Press Windows key, type “cmd”, open Command Prompt.
- Type
ipconfigand press Enter. Look for “Default Gateway”. - Check Settings > Network & Internet > Wi‑Fi for signal strength and link speed.
macOS
- Open Terminal and run
route -n get default. Look for “gateway”. - Or go to System Settings > Network > Wi‑Fi > Details for signal and IP info. Option‑click the Wi‑Fi icon to see RSSI (signal) details.
iOS (iPhone/iPad)
- Settings > Wi‑Fi > tap the “i” next to your network. Note “Router” IP. Open a browser and enter that IP.
Android
- Settings > Network & Internet > Internet/Wi‑Fi > your network > Advanced. Note “Gateway” or “Router” IP and signal strength.
Once signed in, look for status pages showing Internet connection, Wi‑Fi bands, and (for mesh) backhaul or link quality. Healthy links are marked “Good” or show strong bars.
3) Map weak spots
- Sketch your home. Mark walls of brick, stone, tile, or concrete; these block Wi‑Fi more than drywall.
- Walk and test. In each room, note the Wi‑Fi bars and run a quick speed test on a reputable site. Compare to speeds near the router.
Tip: A 20–40% drop in far rooms can be normal. If you see under 10 Mbps where you need video calls, plan a mesh node there.
Placing Your Modem or Router
Decide what can move
- Cable/DSL modem usually must stay near its active wall jack. Try other coax/phone jacks only if you know they are active.
- Fiber homes have an ONT (fiber box). Leave the fiber cable in place. You can usually run Ethernet from the ONT to your router somewhere else.
- Combined modem+router (gateway) limits placement. If possible, keep the modem near the wall jack and move only the router by adding a longer Ethernet cable between them.
Warning: Do not open cable boxes or splitters you don’t own. Do not over‑tighten coax connectors. If you need a new jack or splitter change, contact your internet provider or a low‑voltage professional.
Step‑by‑step
- Power down the modem/ONT and router. Label both ends of each cable (WAN/Internet vs LAN, which device it goes to).
- Choose a central, open spot for the router: waist‑to‑eye level, off the floor, away from big appliances and thick masonry.
- Run Ethernet from modem/ONT to the router’s WAN/Internet port. Up to 100 meters (328 ft) is fine for Cat5e/Cat6.
- Secure cables along baseboards using clips. Avoid trip hazards and do not run cables under closed doors without a cable cover.
- Power on the modem/ONT. Wait for “Online/Internet” to go solid. Then power on the router.
- Confirm you can browse the web. If not, recheck that the router’s WAN port is connected to the modem/ONT, not a LAN port.
Note: If your router has external antennas, start with them vertical. If coverage is better on another floor, angle one antenna slightly.
Placing Mesh Nodes
Goal: each node must have a strong connection to the main router or to another node, and also serve the target room. Think “stepping stones,” not “islands.”
Placement rules of thumb
- Place the first node about halfway between the router and the dead zone.
- Keep 1–2 interior walls between nodes when using wireless links.
- For multi‑story homes, place nodes roughly one above the other, slightly offset (diagonally) to avoid stacking directly under heavy floors.
- Avoid corners, inside cabinets, next to TVs, or on the floor. Higher is usually better.
- If supported, prefer Ethernet backhaul for one or more nodes for the best performance.
Step‑by‑step
- Place the main router first and verify good internet near it.
- Plug in the first node in a halfway spot. Wait for its light to show connected (check your system’s app or the router admin page).
- Test Wi‑Fi in the target room. If speeds are still low, move the node a few feet closer to the router and retest.
- Add a second node only if needed. Don’t place nodes so far apart that the middle one has weak signal.
- For Ethernet backhaul, run a cable from the router or a network switch to the node’s Ethernet port. Confirm the node reports a wired link.
Tip: Most mesh systems show link quality bars. Aim for “Good” or better. Move a node a few feet and recheck; small moves can make big differences.
Testing and Optimizing
- Run a speed test near the router, then in each important room. Compare results. Expect some drop with wireless hops.
- Check Wi‑Fi bands. Ensure 5 GHz or 6 GHz is enabled for faster devices. Keep 2.4 GHz on for smart home gadgets that need range.
- Channel selection: Set to “Auto” unless you have heavy interference. If you must pick manually, 2.4 GHz works best on channels 1, 6, or 11.
- Network name and password: If you replaced or moved gear, consider keeping the same SSID and password so devices reconnect automatically. Use strong WPA2 or WPA3 encryption.
- Firmware update: In the router admin page, use the built‑in updater to check for updates. Warning: Only update from the device’s official updater. Avoid third‑party “driver” sites.
- Optional: Enable a guest network for visitors so your main devices stay private.
Preventive Care
- Update router/mesh firmware every few months using the built‑in updater.
- Back up settings if your router offers “Export” or take screenshots of key pages.
- Use a unique admin password for the router. Avoid reusing passwords from other accounts.
- Keep devices cool and dust‑free. Do not stack electronics directly on top of the router.
- Use surge protection for modem, router, and mesh nodes.
- Review your internet plan yearly. If your measured speeds match your plan but feel slow, you may need a higher tier.
- Consider running Ethernet to key rooms (office, TV) to reduce Wi‑Fi load.
When to Seek Help
- No “Online/Internet” light on the modem after 10 minutes: call your internet provider.
- Only one coax jack works, or signal drops when using a splitter: contact your provider or a licensed low‑voltage technician.
- Frequent drops even with strong Wi‑Fi bars: there may be a line issue outside your home or interference you can’t avoid.
- You need a new jack installed, cable run through walls/attic, or ceiling mounts: hire a professional.
- Heat, smell, or sparks from equipment: unplug immediately and replace the device.
Before you call: Write down the modem/router model, serial numbers, what lights are on, and the steps you tried. This speeds up support.
All set! You learned how to place your modem or router for better coverage and how to position mesh nodes so every room gets a strong signal. Keep testing and tweaking small placements; a few feet can make a big difference. If you hit a wall (literally or figuratively), don’t hesitate to call in help.
Frequently Asked Questions
Should I move the modem or the router first?
Start by moving the router to a central, open location. Move the modem only if you know another active jack exists or you can run Ethernet from the modem/ONT to the router.
How long can my Ethernet cable be?
Up to 100 meters (328 ft) for standard Cat5e/Cat6 between devices. Longer runs may work but are not guaranteed.
How far apart should mesh nodes be?
As a starting point, place nodes 10–30 feet apart with no more than 1–2 interior walls between them. Adjust based on your home’s layout and test results.
Do I ever need a factory reset?
Only if you’ve lost the admin password or the device is misconfigured and support advises it. A factory reset erases your Wi‑Fi name, password, and custom settings.
Leave a Reply