
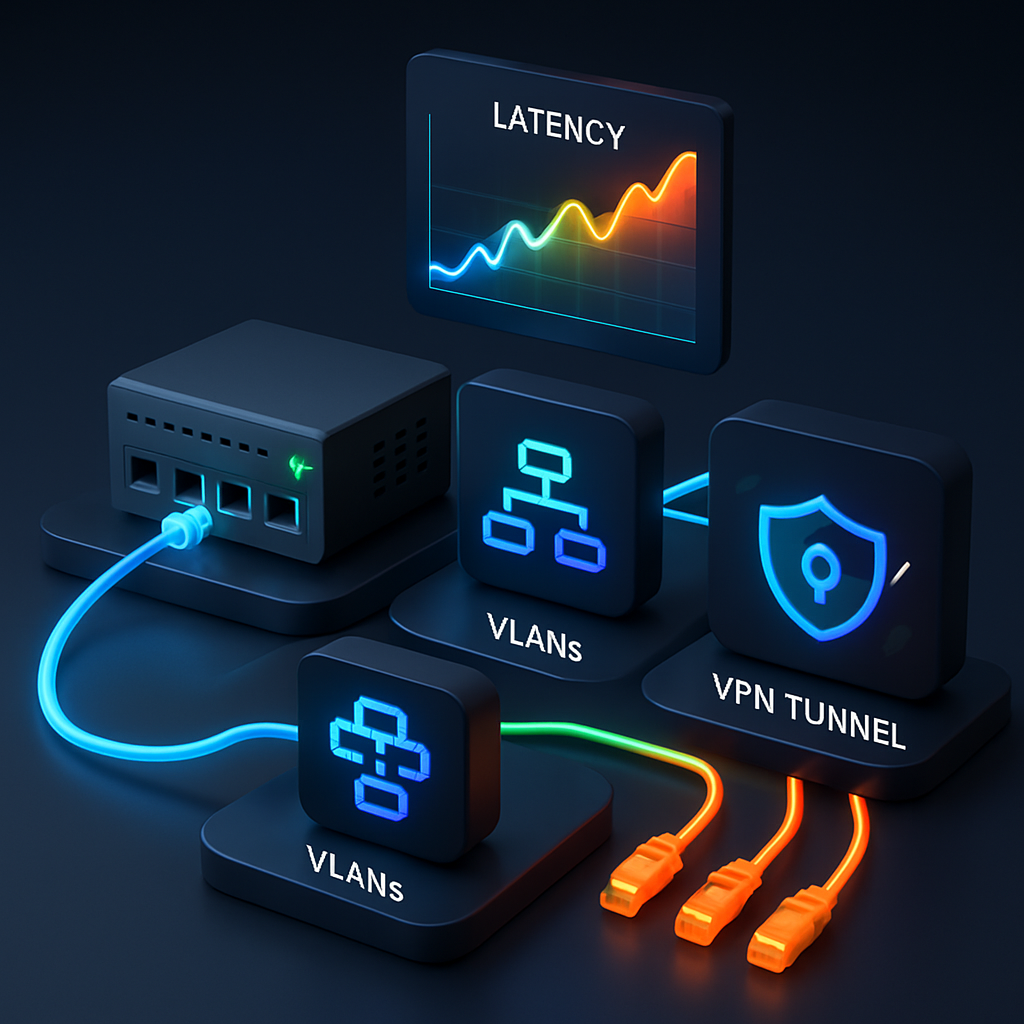
Latency spikes, streaming buffers, and questions about what data leaves your network—these are the reasons many tinkerers build a home lab. In this guide, you’ll design a safe environment to test split tunneling, VPNs, and traffic shaping without disrupting your everyday internet.
We’ll cover concepts, hardware, a reference topology, step-by-step setup, and repeatable experiments you can run to measure and improve performance. No specialized background required—just curiosity and a weekend.
Table of Contents
- Why Build a Home Lab
- Core Concepts
- Design Overview
- Hardware You’ll Need
- Network Topology & IP Plan
- Software Stack & Alternatives
- Step-by-Step Setup
- Test Scenarios & Experiments
- Measuring Results
- Troubleshooting
- Security, Privacy & Ethics
- Budget, Power & Scale
- Conclusion
- Frequently Asked Questions
Why Build a Home Lab for Split Tunneling and QoS
Home networks are busier than ever. Work calls, 4K streaming, gaming, cloud backups, and smart devices compete for bandwidth. A lab lets you see what’s happening and try improvements before applying them to your main network.
With a dedicated space to test split tunneling, VPN clients/servers, and traffic shaping, you can compare protocols, prioritize latency-sensitive apps, and verify that privacy choices work as intended.
- Measure real effects of VPN protocols on speed, latency, and reliability.
- Route specific apps or devices through a VPN while leaving others direct-to-internet.
- Reduce bufferbloat and stabilize calls and gaming with smart queuing (FQ-CoDel/CAKE).
- Build a reusable, low-risk platform for future experiments.
Core Concepts: Split Tunneling, VPNs, and Traffic Shaping
Split Tunneling
Split tunneling sends only a subset of traffic through a VPN tunnel while the rest uses your regular connection. You can split by device, application, destination IP, or domain (FQDN). The goal is to balance privacy, performance, and compatibility.
VPN Protocols
Common choices include WireGuard (modern, efficient, UDP-based), OpenVPN (mature, flexible, UDP/TCP), and IPSec/IKEv2 (often used for site-to-site). Protocols differ in overhead, handshake behavior, and how they handle packet loss and MTU.
Traffic Shaping and QoS
Traffic shaping and QoS help your network stay responsive under load by controlling rates and queueing behavior. Algorithms like FQ-CoDel and CAKE reduce bufferbloat so web pages, voice, and games remain snappy even during big downloads.
Design Overview: A Simple, Safe Lab
We’ll build a small environment that sits beside your everyday network. Test clients join the lab SSID or Ethernet port, pass through a virtualized router/firewall, and optionally a VPN. Your primary home devices can continue using the normal router.
- Isolation: Use a dedicated VLAN, SSID, or separate switch for lab devices.
- Repeatability: Keep a clean snapshot of your router VM so you can roll back.
- Observability: Include simple monitoring so you can quantify changes.
You can run this as a dual-router setup (ISP modem > main router > lab router) or place the lab router directly behind the modem if your ISP supports bridge mode. The dual-router method is easiest because it keeps the lab’s egress behind your usual NAT while letting you experiment freely.
Hardware You’ll Need
- Router/firewall platform: A small x86 mini PC with 2+ NICs (e.g., Intel N5105/N100) or an old desktop with an Intel 4-port NIC. Virtualization works well if you can pass multiple NICs to a VM.
- Managed switch (optional but helpful): For VLANs and easy port segregation.
- Access point (optional): A spare AP or your main AP with a dedicated lab SSID/VLAN.
- Test clients: A laptop and/or Raspberry Pi for generating traffic and running measurements.
- Storage/UI: USB stick or SSD for router OS; monitor/keyboard for the first boot if needed.
Power and noise matter for 24/7 labs. A modern low-power mini PC often idles below 10–15 W. If you repurpose an old tower, consider scheduled power or sleep when not testing.
If you prefer an all-in-one, an OpenWrt-capable consumer router with enough CPU can work, especially for CAKE-based SQM. Verify available flash/RAM and community support before flashing new firmware.
Network Topology & IP Plan
Here is a simple, flexible plan you can adapt:
- WAN: DHCP from your ISP modem or upstream router.
- Lab LAN: 192.168.20.0/24 (gateway 192.168.20.1).
- Lab Guests (optional): 192.168.30.0/24 for untrusted test hardware.
- Management (optional): 192.168.10.0/24 for your hypervisor and monitoring.
- VLAN tags: 20 (lab), 30 (guests), 10 (mgmt) if using a managed switch/AP.
Reserve static IPs for your router/firewall, monitoring host, and any servers. Keep a short list of subnets and gateways handy during setup.
By default, the lab router will NAT traffic to the upstream, which is sufficient for testing. Keep inbound ports closed unless a test requires them, and document any exceptions.
Software Stack & Alternatives
- Router/firewall: pfSense CE/Plus or OPNsense (policy-based routing, VPN clients, limiters/queues).
- Alternatives: OpenWrt (excellent SQM with CAKE), VyOS, or a Linux router using nftables and tc.
- VPN endpoints: WireGuard or OpenVPN. You can connect to a commercial VPN provider or a self-hosted endpoint in the cloud (ensure you follow all applicable laws and provider terms).
- Traffic generation: iPerf3, curl, speedtest CLI, and Flent for latency-under-load tests.
- Monitoring: ping, traceroute, tcpdump/Wireshark, fping/Flent, ntopng, or lightweight dashboards like Netdata.
Step-by-Step Setup
- Prepare the host.
- Install a hypervisor (Proxmox, ESXi, Hyper-V) or run bare metal.
- Connect at least two NICs: one to WAN/upstream, one to a lab switch/AP.
- Label cables and note MAC addresses to avoid confusion later.
- Install your router/firewall.
- Create a VM or install directly. Assign two vNICs/ports: WAN and LAN.
- On first boot, set LAN to 192.168.20.1/24 and confirm DHCP serves test clients.
- Verify outbound internet from a lab client before adding complexity.
- Set up VLANs and SSIDs (optional but recommended).
- Create VLAN 20 for lab, VLAN 30 for lab-guests on your switch/AP.
- Trunk VLANs to the router port; assign interfaces and DHCP scopes per VLAN.
- Create a “Lab” SSID mapped to VLAN 20 for easy device onboarding.
- Configure VPN clients.
- Import WireGuard or OpenVPN configs into pfSense/OPNsense.
- Set up a gateway for the VPN interface and enable monitoring (DPinger).
- Create an alias for “VPN-only” destinations (IPs or FQDNs) to simplify rules.
- Implement split tunneling (policy-based routing).
- Add firewall rules on the Lab LAN: match source (device), destination (alias), or port, then set the Gateway to the VPN or to WAN as desired.
- Order matters: put specific rules above general “allow” rules.
- For domain-based rules, use FQDN aliases with reasonable TTLs; test carefully because DNS resolution timing can affect routing.
- Enable traffic shaping/QoS.
- Measure your true ISP up/down while idle; set shaper rates ~5–10% below those figures.
- Use Limiters/Queues with FQ-CoDel or CAKE (OpenWrt SQM) for best latency under load.
- Create simple priority: Voice/Game high, Web medium, Bulk low. Start simple; refine later.
- Harden basics and verify DNS.
- Disable unnecessary services, use strong admin passwords, and restrict management to the management subnet.
- Decide on DNS: resolver vs forwarder, with or without DNS over HTTPS/TLS.
- Check for DNS and IP leaks using reputable test sites from both “VPN” and “Direct” clients.
- Snapshot and document.
- Export your config, store a clean snapshot, and write down the test plan and baseline results.
Test Scenarios & Experiments
1) Split Tunneling by Device, App, and Destination
- By device: Route a gaming PC through WAN (no VPN) while keeping a streaming stick on VPN.
- By application/port: Send VoIP (SIP/RTP) and game ports direct; keep browser traffic on VPN.
- By destination: Use IP/FQDN aliases to send banking sites direct (for fewer challenges) while routing P2P or public Wi‑Fi laptops via VPN.
Record throughput and latency for each case. Confirm that policy rules behave consistently across reboots and IP/DNS changes.
2) VPN Protocol and Settings Comparisons
- Test WireGuard vs OpenVPN (UDP and TCP). Measure upload/download (iPerf3), latency (ping), and stability over 10–15 minutes.
- Experiment with MTU and MSS clamping. Start at 1420 for WireGuard as a reference, then adjust based on path MTU discovery.
- Compare cipher overhead for OpenVPN and observe CPU utilization on your router hardware.
3) QoS and Latency-Under-Load (Bufferbloat)
- Using Flent’s RRUL or simple parallel iPerf3 flows, generate heavy load while running ping to several stable targets (e.g., 1.1.1.1, 9.9.9.9).
- Enable FQ-CoDel or CAKE and set shaper rates slightly below your real line rate. Re-run tests and compare latency, jitter, and packet loss.
- Try different queue priorities: assign bulk transfers to a lower-priority queue and confirm calls remain clear during downloads.
4) Streaming, Gaming, and Work Calls
- Join a test video call or watch a 4K stream while syncing a large file in the background. Verify the call/stream remains smooth with QoS enabled.
- Measure input lag and jitter on a game while toggling VPN on/off to understand the trade-offs.
5) Optional: Dual-WAN or Failover
- If you have a secondary connection (cellular hotspot), test WAN failover and observe how VPN tunnels and QoS respond.
Measuring Results and Monitoring
Make experiments comparable by controlling variables. Use the same server targets, run tests at least 2–3 times, and log results with timestamps and configurations.
- Throughput: iPerf3 to a reliable server (LAN, cloud VM, or a trusted public endpoint).
- Latency and jitter: ping/fping; Flent for combined graphs of latency-under-load.
- Packet capture: Wireshark/tcpdump to verify routes, DSCP markings, and MSS values.
- System load: CPU/memory on the router, especially during encryption-heavy tests.
Store measurements in a simple CSV or a lightweight time-series tool. Even a spreadsheet comparing “before/after” with notes about MTU, queue settings, and rule changes will help you draw confident conclusions.
Run tests at different times of day to account for upstream congestion. Clear CDN/browser caches when evaluating web performance, and use the same download sources to reduce variance.
Troubleshooting
- “VPN works but some sites hang.” Likely MTU/MSS issues. Lower the tunnel MTU or enable MSS clamping on LAN/VPN interfaces.
- “Latency spikes when saturating upload.” Your shaper rate is too high or queueing is disabled on egress. Reduce the set rate 5–10% and confirm FQ-CoDel/CAKE is applied to the correct interface.
- “Rules don’t seem to apply.” Check rule order, aliases (expand them to see current IPs), and which interface the traffic enters. Verify that the VPN gateway is up.
- “DNS looks wrong.” Ensure lab clients use the intended DNS resolver and that DNS-over-HTTPS/TLS choices are consistent with your split tunneling rules.
- “VPN gateway flaps up/down.” Check upstream stability, monitor targets, and keep-alive intervals. Consider switching to a closer VPN endpoint.
Security, Privacy & Ethics
- Keep the lab segmented from your main network and sensitive devices.
- Use strong admin credentials and limit management access to known IPs.
- Only test on networks and systems you own or have explicit permission to use.
- Respect laws, service agreements, and content licenses. Don’t use VPNs to violate terms or bypass restrictions unlawfully.
- When using commercial VPNs or cloud providers, follow their acceptable-use policies and rate limits.
- Document changes so you can revert quickly if something behaves unexpectedly.
Budget, Power & Scale
You can start small: a $150–$300 mini PC with dual NICs, a used managed switch, and your existing AP are enough. Add components only when a test requires them.
- Entry: Mini PC + existing switch/AP; target under 15 W idle.
- Intermediate: Add a managed switch and a separate AP with VLAN support.
- Advanced: Dedicated lab rack, UPS, remote logging/metrics, and a self-hosted VPN endpoint in the cloud.
When scaling, watch for CPU bottlenecks (encryption), NIC offloading quirks, and disk wear if you keep packet captures or flow logs. Upgrade deliberately and re-baseline after each change.
Conclusion
A thoughtful home lab gives you a controlled way to test split tunneling, compare VPNs, and shape traffic so the network feels fast even under pressure. Start with isolation, simple rules, and solid measurements; then iterate.
The payoff is clarity: you’ll know what helps, what doesn’t, and why. Capture your baseline, make one change at a time, and enjoy a smoother, more private network on your terms.
Frequently Asked Questions
Is it safe to run this alongside my main home network?
Yes—if you segment the lab using a separate VLAN/SSID or switch and keep management locked down. Avoid bridging the lab directly into sensitive subnets.
Do I need a static public IP or special ISP plan?
No. DHCP from your ISP is fine. If you self-host a VPN server, a dynamic DNS name helps clients find you after IP changes.
Which VPN is better: WireGuard or OpenVPN?
WireGuard is typically faster and simpler; OpenVPN is widely supported and flexible. Test both on your hardware and path to see which meets your needs.
Will split tunneling leak data?
It can if rules or DNS aren’t aligned. Decide which traffic must use the VPN, set clear policies, verify with leak tests, and monitor periodically.
Leave a Reply