
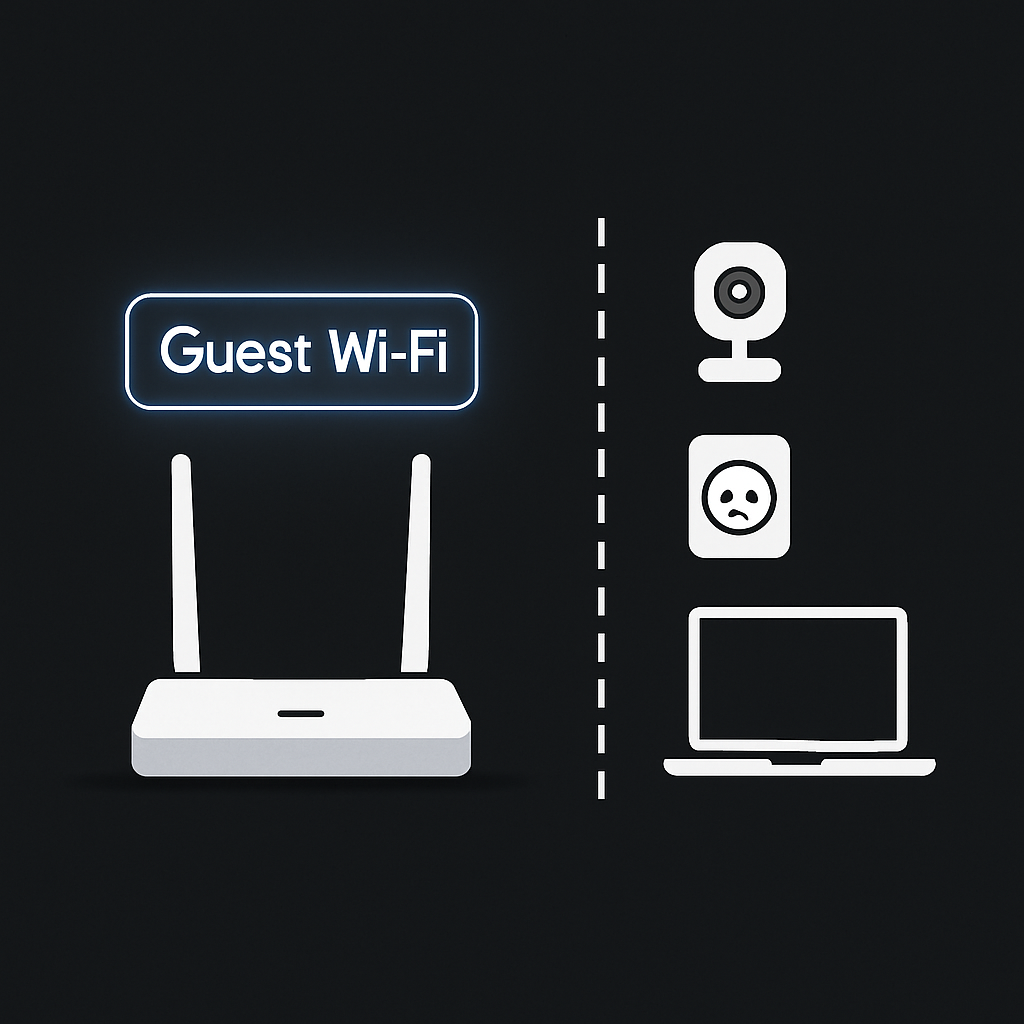
Want to keep your smart cameras and plugs from snooping on your computers? In this guide, you’ll set up a router “guest” network and rules so your Internet of Things (IoT) gadgets stay in their own safe lane. By the end, your cameras and plugs will still work, but they won’t have free access to your laptops, phones, or files.
Table of Contents
- Before You Start
- Quick Fix Steps
- Plan Your Guest Rules
- Set Up the Guest Network
- Move IoT Devices (Cameras and Plugs)
- Tighten Security Rules
- Deeper Diagnosis
- Preventive Care
- When to Seek Help
- Conclusion
- Frequently Asked Questions
Before You Start
Router: the box that creates your home Wi‑Fi network and connects to the internet. Guest network: a separate Wi‑Fi for visitors or devices that you don’t fully trust, kept apart from your main network.
- What you need: your router admin login, a phone/computer on your Wi‑Fi, and the list of cameras/plugs you’ll move.
- Time: 30–60 minutes for setup and testing.
- Difficulty: Easy to Medium (depends on your router’s menus).
- What can go wrong: devices may drop offline during changes, older gadgets may only work on 2.4 GHz, and some smart hubs need extra steps to be discovered across networks.
Warning: Avoid a factory reset unless you have your internet login details from your ISP and a backup of your router settings. Changing Wi‑Fi settings will temporarily disconnect devices. Save your work before you begin.
Note: Only update router firmware using the router’s own update tool or the official vendor site. Don’t install random software or third‑party firmware unless you fully understand the risks.
Quick Fix Steps
- Log in to your router’s admin page. In a browser, type your router’s address (often 192.168.1.1, 192.168.0.1, or 10.0.0.1). Sign in with your admin username and password.
- Enable the Guest Wi‑Fi. Give it a clear name like “Home‑IoT” (don’t include your family name or address). Turn on 2.4 GHz for older devices. Set security to WPA2 or WPA3 with a strong, unique password.
- Turn on isolation. Look for options like “Guest isolation,” “Block access to local network,” “AP isolation,” or “Intranet access off” and enable them.
- Optional: Set an internet schedule for the guest network to turn off overnight if you like.
- Connect each camera and plug to the new Guest Wi‑Fi from its app or setup process. Keep your phones and computers on the main Wi‑Fi.
- Test: open the camera app and a plug controller. Confirm live video loads and plugs toggle on/off.
- Write down the Guest Wi‑Fi name and password, and store them safely.
Plan Your Guest Rules
Decide what you want your guest network to allow or block. Here’s a simple plan that fits most homes:
- Keep IoT devices off your main network (no access to your computers, printers, or NAS).
- Allow internet, DNS, and time sync so devices function normally.
- Block device‑to‑device traffic on the guest network (cameras can’t talk to other cameras).
- Turn off UPnP (automatic port opening) and avoid manual port forwarding to cameras.
- Use a different Wi‑Fi name and password for guests/IoT than for your main network.
- Only create exceptions (like casting or local discovery) if you truly need them, and keep them narrow.
Set Up the Guest Network
Step 1: Find your router’s address
- Common addresses:
192.168.1.1,192.168.0.1,10.0.0.1, or192.168.50.1.
Windows
- Settings > Network & Internet > Properties (look for “Default gateway”), or open Command Prompt and run
ipconfig. The “Default Gateway” is your router.
macOS
- System Settings > Network > Wi‑Fi > Details (look for “Router”), or open Terminal and run
route -n get default(look for “gateway”).
iOS/iPadOS
- Settings > Wi‑Fi > your network > (i) > Router.
Android
- Settings > Network & Internet > Internet (or Wi‑Fi) > your network > gear icon > Advanced. Look for “Gateway.”
Step 2: Turn on and secure the Guest Wi‑Fi
- In your router’s admin page, open Wireless/Wi‑Fi settings, then Guest Network.
- Enable it. Name it clearly (example:
Home-IoT). - Security: choose WPA2 or WPA3. Create a strong password (12+ characters, mixed types). Do not use WEP. Disable WPS if you can.
- Ensure 2.4 GHz is enabled (many cameras/plugs need it). You can keep 5 GHz on too if supported.
- Apply/Save. Your router may restart the Wi‑Fi for a minute.
Move IoT Devices (Cameras and Plugs)
Step-by-step
- Open the device’s app. Look for Wi‑Fi settings or “Change network.” If the app requires a brief re‑pair, follow its instructions.
- Select the Guest Wi‑Fi and enter the new password. Stand near the router for a stronger signal.
- If your camera/plug uses a temporary setup Wi‑Fi (device broadcasts its own name), join it when prompted, then provide the Guest Wi‑Fi details in the app.
- Repeat for each device. Label each device in its app with a clear room name (e.g., “FrontDoorCam”).
- Optional: In the router’s DHCP/Client list, make a DHCP reservation for each device (bind its MAC address to a fixed IP). This keeps addresses stable for rules later.
Warning: Avoid a full factory reset on devices unless the app specifically requires it and you’ve tried “Change Wi‑Fi” first. Factory resets can erase settings and automations.
Find a device’s MAC address
- On the device label or in its app/device info.
- In the router’s client list (look for the device name, then note the MAC).
OS variations
- iOS/iPadOS: Settings > Wi‑Fi > your network > (i) > Private Wi‑Fi Address shows the phone’s MAC (for reference). Your camera/plug will have its own MAC in its app or label.
- Android: Settings > About phone > Status > Wi‑Fi MAC address (your phone’s MAC for reference).
- Windows: Settings > Network & Internet > Wi‑Fi > Hardware properties, or run
ipconfig /all(look for “Physical Address”). - macOS: System Settings > Network > Wi‑Fi > Details > Hardware Address, or run
ifconfig en0 | grep ether.
Note: Many IoT devices support only 2.4 GHz. If your router merges 2.4/5 GHz under one name and setup fails, temporarily turn off 5 GHz or create a separate 2.4 GHz guest SSID during setup, then turn 5 GHz back on.
Tighten Security Rules
- In Guest settings, enable “Block access to local network,” “AP isolation,” or “Guests can’t see each other.” This prevents guests/IoT from reaching your main devices.
- Firewall rules (if available):
- Allow outbound: DNS (
UDP/TCP 53), NTP (UDP 123), web (TCP 80/443). - Block guest to private LAN ranges:
10.0.0.0/8,172.16.0.0/12,192.168.0.0/16.
- Allow outbound: DNS (
- Turn off UPnP if your cameras/plugs don’t need it. This stops automatic port openings to the internet.
- Do not set up port forwarding directly to cameras. Use their app’s secure remote access or a VPN if needed.
- Optional: Internet schedule for the guest network to reduce overnight chatter.
Example rules description (if your router supports custom rules):
Block: Source=Guest_Net, Destination=192.168.0.0/16, Any Port
Block: Source=Guest_Net, Destination=10.0.0.0/8, Any Port
Block: Source=Guest_Net, Destination=172.16.0.0/12, Any Port
Allow: Source=Guest_Net, Destination=Any, Ports=53,80,123,443
Tip: Use clear device names in the router (e.g., “Plug-Lamp-Office,” “Cam-BackYard”) so you can spot unusual activity later.
Deeper Diagnosis
Check the basics
- Router lights: power, internet, and Wi‑Fi should be solid/on. If internet is out, fix that first.
Confirm isolation
- From a laptop on your main Wi‑Fi, try to ping a camera’s guest IP. It should fail if isolation is working. Windows/macOS: open Terminal/Command Prompt and run
ping 192.168.x.x(replace with the camera’s IP). - Open the camera app on your phone while your phone is on the main Wi‑Fi. Many apps use cloud relays and will still show video. If not, temporarily join the guest Wi‑Fi to complete setup.
If smart speakers/casting don’t work
- Discovery protocols (mDNS/Bonjour on
UDP 5353, SSDP onUDP 1900) may be blocked across networks. - Safer workarounds:
- Do setup with your phone temporarily on the Guest Wi‑Fi.
- Use the vendor’s cloud/app controls instead of local casting.
- If your router supports it, add a very narrow exception (e.g., allow mDNS from your controller device to the IoT VLAN only). Remove the exception if you no longer need it.
Warning: Allowing cross‑network discovery weakens isolation. Keep exceptions minimal and documented.
Preventive Care
- Update your router firmware monthly or when notified. Use the router’s built‑in update checker.
- Back up router settings after you finish. Look for “Backup/Restore” in the admin page.
- Update camera/plug firmware in their apps. Out‑of‑date devices are riskier.
- Use unique passwords for router admin and each Wi‑Fi. Store them in a password manager.
- Review the client list quarterly. Remove or disable devices you no longer use.
When to Seek Help
- You can’t reach the router admin page or you lost the login. Contact your ISP or router vendor for recovery steps.
- Internet stops working after changes. Revert the last change, or connect a computer by Ethernet and call support.
- Your router doesn’t offer guest isolation or firewall rules. Ask the vendor if a firmware update adds it, or consider a router/AP that supports guest isolation.
- You need advanced exceptions (e.g., specific multicast routing) and aren’t comfortable setting rules. Hire a local network pro.
Conclusion
You created a guest network, moved your cameras and plugs, and turned on isolation so they can’t browse your main devices. With a few security tweaks—no UPnP, no port forwards, and optional schedules—you’ve lowered risk without losing convenience. Keep firmware updated and your Wi‑Fi passwords safe, and you’ll stay ahead of most home IoT problems.
Frequently Asked Questions
Do I need special gear like VLAN switches?
Not usually. Many home routers have a guest network with isolation built in. If yours lacks it, an access point or router that supports guest isolation is the simplest upgrade.
Will a guest network break casting or smart speakers?
It can. Discovery traffic is often blocked between networks. Try setup while your phone is on the guest network, use the vendor’s cloud controls, or create a very narrow discovery exception if your router supports it.
My camera wants port forwarding. Should I do it?
Avoid it for security. Use the official app’s remote access or a VPN solution instead. Port forwarding exposes devices directly to the internet.
My devices only support 2.4 GHz. What should I do?
Enable 2.4 GHz on the guest network. If your router combines 2.4/5 GHz and setup fails, temporarily split the bands or disable 5 GHz during setup, then re‑enable it.
Leave a Reply