
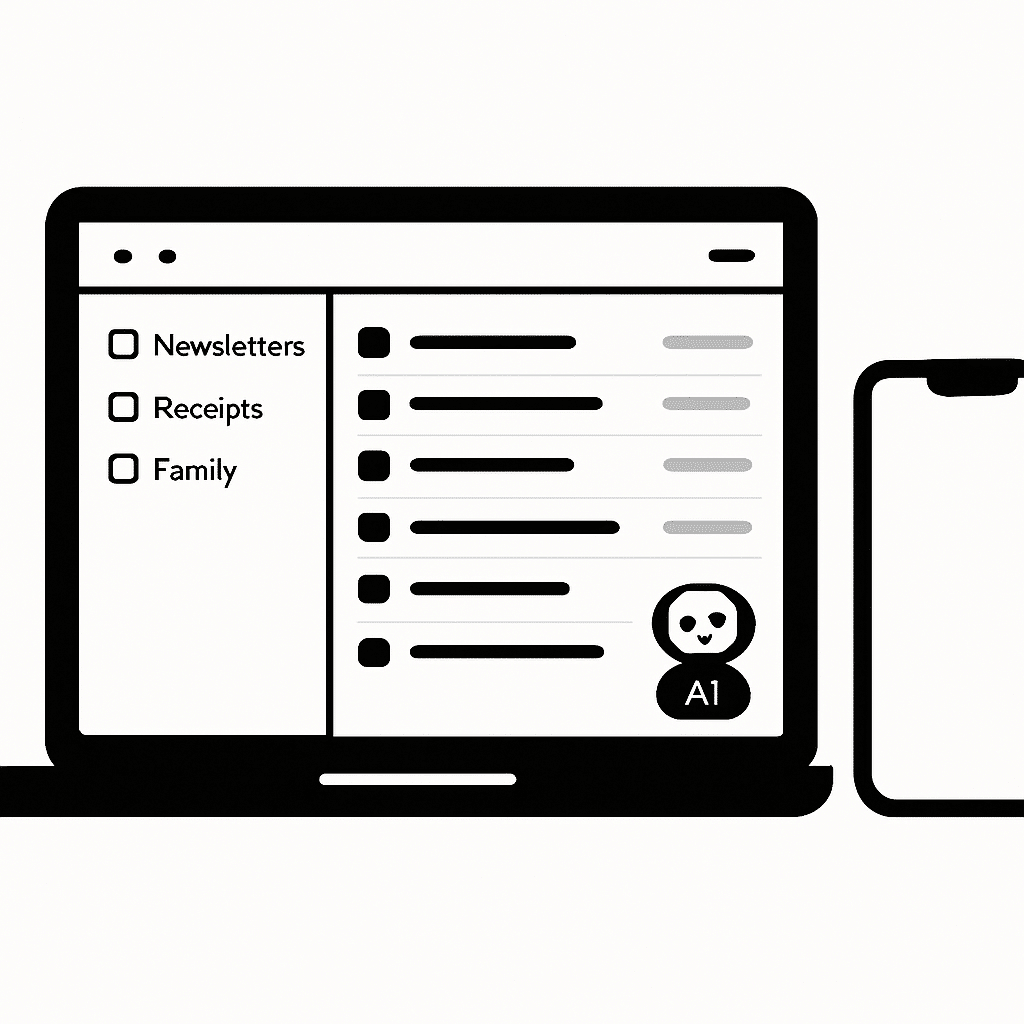
Buried under a mountain of email? This guide shows you how to use AI to sort your inbox and draft quick, polite replies. You’ll set up simple rules, switch on helpful AI features, and keep your privacy safe. By the end, your inbox will feel calmer and you’ll spend less time typing.
Table of Contents
- Before You Start
- Quick Fix Steps
- Set Up AI Sorting
- Set Up AI Replies
- Deeper Diagnosis
- Privacy and Safety
- Preventive Care
- When to Seek Help
- Conclusion
- Frequently Asked Questions
Before You Start
Prerequisites:
- Access to your email via web (browser) or an email app.
- Stable internet connection.
- Optional: your phone for on-the-go sorting and replies.
Time estimate: 30–45 minutes. Difficulty: Easy to Medium.
What can go wrong:
- Important emails could be misfiled by a new rule.
- AI features may need permission to read messages; review privacy.
- Third-party add-ons can be risky if not from official stores.
- Auto-send features may send a reply you didn’t intend.
Warning: You do not need to factory reset anything, edit the registry, or install low-trust software. Avoid downloads from unknown sites. Stick to your provider’s web settings, official stores, and built-in features.
Quick Fix Steps
- Turn on built-in categories or labels in your email settings (often called “categories,” “tabs,” or “labels”).
- Enable suggested replies or “smart reply” in settings so you can tap a quick response.
- Create 2–3 simple folders: Newsletters, Receipts, and Family/Friends.
- Make basic rules to auto-move easy items (examples below). Test with a few emails first.
- Star or flag your top contacts so their emails stay prominent.
Tip: Start small. Add more rules only after the first ones work well.
Set Up AI Sorting
Step 1: Enable smart categories (if available)
- Open your email settings in your webmail or app.
- Look for Inbox or Organization settings. Switch on “smart categories,” “focused inbox,” or similar wording if offered.
- Save changes and refresh your inbox.
Note: Names vary. If you don’t see these, skip to rules/filters.
Step 2: Create simple rules/filters
- Go to Settings > Filters/Rules > New rule.
- Add conditions and actions. Start with these examples:
- Newsletters:
if subject contains "unsubscribe" or "newsletter" then move to "Newsletters" - Receipts:
if subject contains "receipt" or "order" or from contains "no-reply@" then move to "Receipts" - People I know:
if sender is in Contacts then mark as Important
Warning: For the first week, set rules to “Label/Tag” instead of “Move” if you’re nervous about missing something. Review daily, then switch to moving once you trust them.
Step 3: Train by moving messages
- Each time you move an email to a folder, you “teach” your system what belongs there.
- Do this for a few minutes a day for a week. Patterns get clearer fast.
Windows/macOS (desktop apps)
- Open your email app’s Settings/Preferences.
- Find Rules/Filters. Click “New rule.”
- Create the conditions above. Apply to Incoming messages. Save.
iOS
- In your mail app, create new Mailboxes/Folders: tap Edit > New Mailbox.
- Customize notifications: Settings > Notifications > Mail > choose your account and set alerts for VIP/Primary only.
- Move a few emails into the new mailboxes to train your routine.
Android
- In your mail app, create Folders/Labels from Settings or the sidebar menu.
- Notifications: Settings > Apps > Your email app > Notifications > choose High priority for important folders.
- Long-press emails and Move to train your organization.
Set Up AI Replies
Step 1: Turn on suggested replies
- Open email Settings.
- Look for “Suggested replies,” “Smart reply,” or “Smart compose.”
- Toggle On. Save.
Step 2: Use AI to draft, then you review
- Open an email. Click a suggested reply or start typing to see suggestions.
- Edit for tone and details. Never rely on auto-send; always review.
- Keep it short and clear.
Handy templates (copy, personalize, and save as snippets):
- Acknowledge:
Thanks for your email about <topic>. I’ll look into this and get back to you by <day/time>. - Decline:
Thanks for thinking of me. I can’t take this on right now, but I appreciate the invite. - Schedule:
Happy to meet. Are you free <day> at <time>? If not, please suggest two times.
Windows
- Dictation to speed replies: Press Windows key + H in your email message field to start voice typing. Speak punctuation like “period” or “new line.”
- Turn on text suggestions: Settings > Time & language > Typing > Show text suggestions.
macOS
- Dictation: Apple menu > System Settings > Keyboard > Dictation > On. In a message, press the Fn (Globe) key twice to dictate.
- Text replacements: System Settings > Keyboard > Text Replacements. Add shortcuts for common phrases.
iOS
- Dictation: Settings > General > Keyboard > Enable Dictation. In a message, tap the microphone on the keyboard.
- Text Replacement: Settings > General > Keyboard > Text Replacement. Add “omw” style shortcuts for frequent replies.
Android
- Voice typing: In a message, tap the keyboard’s microphone to dictate. Speak punctuation for clarity.
- Personal dictionary: Settings > System > Languages & input > Personal dictionary. Add common replies.
Tip: Keep a “Snippets” note with your best replies. Copy/paste to save time.
Deeper Diagnosis
Check 1: Features are actually on
- Reopen Settings. Confirm categories, rules, and suggested replies are enabled.
- Sign out and back in, or close/reopen the app.
Check 2: Rule order and folders
- Make sure destination folders exist and have simple names.
- Put specific rules above general ones. Example: place “Family” above “Newsletters.”
Check 3: Permissions
- If you added a helper add-on, review its permissions in your account’s Security/Connected apps page.
- Remove anything you don’t recognize.
Check 4: Service and app health
- Try a different browser or device. If it works there, clear cache on the first one.
- Update your email app to the latest version from the official store.
Check 5: Test messages
- Send yourself a message with this subject:
TEST-NEWSLETTER unsubscribe offerand confirm it moves to Newsletters. - Adjust the rule if it doesn’t match.
Check 6: Junk/Spam and Safe senders
- Look in Junk/Spam for missing emails. Mark “Not junk” to retrain.
- Add key contacts to your address book to prevent misclassification.
Privacy and Safety
- Warning: Any AI that helps with email may read your messages. Only enable features from providers you trust.
- Use official app stores and your provider’s own settings pages. Avoid installers from random websites.
- Turn off auto-send. Always review drafts before sending.
- Enable two-factor authentication (2FA) on your email account to protect access.
- Regularly review Connected apps/Third-party access. Revoke anything you don’t use.
- Do not connect work email to personal AI tools unless your workplace approves it.
Preventive Care
- Weekly: Sweep your inbox for 5 minutes. Move any strays to the right folder to keep training consistent.
- Weekly: Unsubscribe from newsletters you no longer read. Look for the “Unsubscribe” link at the bottom of those emails.
- Monthly: Review your rules. Merge duplicates. Keep names short and clear.
- Monthly: Check Security/Connected apps. Remove unused tools.
- Always keep your OS and email app updated. Updates fix bugs and improve AI suggestions.
- Optional backup: Export a copy of your mailbox from your email settings (look for “Export” or “Download”). Store it on an external drive.
When to Seek Help
- Important emails keep going missing, even after you adjust rules.
- You see sign-ins you don’t recognize or emails sent that you didn’t write.
- Your email app crashes after enabling features, and updates don’t help.
- You’re unsure about a permission request from a third-party tool.
Contact your email provider’s support or a trusted local technician. If you suspect account compromise: change your password immediately, enable 2FA, review recovery options, and check Sent/Trash folders for unfamiliar activity.
Conclusion
You set up smart sorting, enabled quick replies, and learned safe habits to protect your privacy. Keep training your rules a little each week, and your inbox will stay organized. When in doubt, keep it simple and always review before you send.
Frequently Asked Questions
Q: Will AI read all my emails?
A: AI features need access to suggest replies or categorize. Use trusted providers, review permissions, and disable anything you don’t need.
Q: How do I stop AI from moving important mail?
A: Add key contacts to your address book, mark their emails as Important, and move those rules to the top. For a week, set rules to label instead of move.
Q: Can I use this with multiple accounts?
A: Yes. Set folders and rules per account. Keep naming consistent (same folder names) so it’s easier to manage.
Q: Does this work offline?
A: Rules in desktop apps often work when new mail arrives and you reconnect. AI suggestions and cloud rules typically need an internet connection.
Leave a Reply