
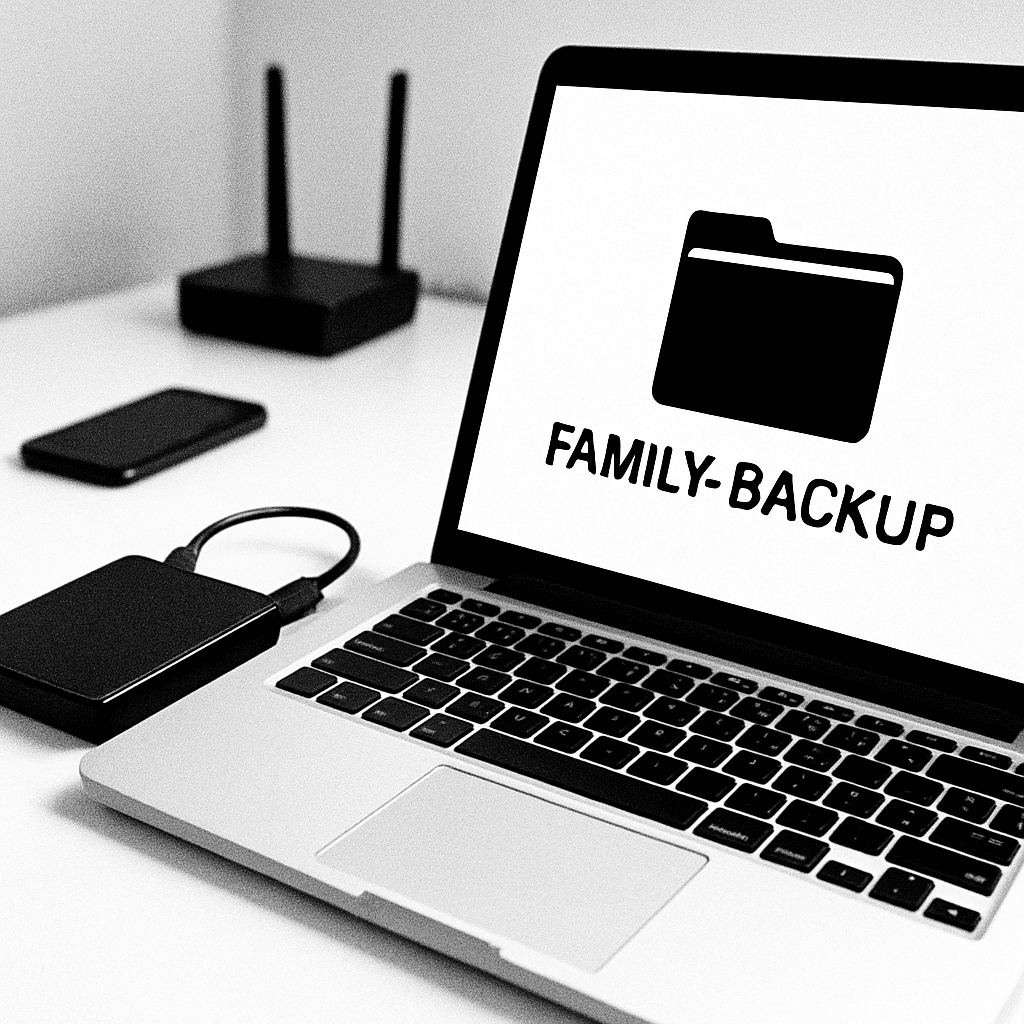
Your family’s photos, school projects, and important documents deserve more than luck. In this guide, you’ll set up a simple, reliable backup plan (the “3-2-1 rule”) so your files are safe from accidents, theft, or device failure. By the end, you’ll have automatic backups running on computers and phones, plus a quick way to check that everything is really protected.
Table of Contents
- Before You Start
- Quick Fix Steps
- Plan Your Backup (3-2-1 Rule)
- Set Up Automatic Backups (Windows/macOS/iOS/Android)
- Add an External Drive Safely
- Add a Cloud or Offsite Backup
- Protect Phones and Tablets
- Deeper Diagnosis: Verify and Test
- Preventive Care
- When to Seek Help
- Conclusion
- Frequently Asked Questions
Before You Start
Goal: create two automatic backups—one to an external drive at home, and one offsite (cloud or a drive you keep elsewhere). We’ll keep jargon light and steps short.
- Prerequisites:
- One external USB drive per computer (2 TB or larger is a good start).
- Internet access for cloud/offsite backup (optional but recommended).
- Device passwords and sign-in info handy (you may need admin access).
- Time estimate: 30–90 minutes to set up; the first backup may take hours.
- Difficulty: Easy to Medium.
- What can go wrong:
- Running out of space on the backup drive or cloud account.
- Unplugging a drive mid-backup can corrupt files.
- Forgetting encryption passwords or recovery keys can lock you out.
Warning: Do not “format” or “erase” any drive unless you’re certain it does not contain your only copy of important files. Formatting permanently deletes data.
Quick Fix Steps
Short on time? Do these now to get basic protection today.
- Pick what matters most. Gather your family’s key folders: Documents, Pictures/Photos, Desktop, and any special project folders.
- Connect your external drive. Open it and create a folder named
Family-Backup. Drag-copy your key folders into it. Let it finish.
- Turn on automatic backups on your computer (see “Set Up Automatic Backups”). Even a basic schedule is better than none.
- Enable phone backups (see “Protect Phones and Tablets”). Turn on automatic photo and device backups.
- Write down where your backups live (Drive letter/name and cloud account) and store any recovery keys or passwords in a safe place.
Tip: Keep the external drive connected only during backups if you’re worried about spills, theft, or power surges. Just remember to plug it in on your schedule.
Plan Your Backup (3-2-1 Rule)
3-2-1 rule: keep 3 copies of your files, on 2 different types of storage, with 1 copy offsite. In plain terms: your computer (original), an external drive at home, and a cloud/offsite copy.
- Schedule:
- Computers: automatic daily or weekly backups.
- Phones/tablets: automatic daily backups while charging on Wi‑Fi.
- Monthly: test restore a file to prove it works.
- Roles: assign who checks backups each week (5-minute glance is enough).
- Label drives with the computer name and date started (ex: “Family-PC Backup – 2026”).
- Offsite: choose a reputable cloud service or rotate a second drive stored at a trusted location.
Set Up Automatic Backups (Windows/macOS/iOS/Android)
Windows (10/11)
- Plug in the external drive.
- Open
Start > type "Backup"and select your system’s backup settings (File History or Windows Backup). - Select your external drive and turn backup on. Choose important folders (Documents, Pictures, Desktop).
- Set frequency (hourly/daily). Leave the PC on for the first full backup.
Tip: To check space, open Settings > System > Storage.
macOS
- Plug in the external drive.
- Go to
System Settings > General > Time Machine. - Select the external drive and turn on automatic backups.
- Keep the Mac awake for the first backup to finish.
iOS (iPhone/iPad)
- Connect to Wi‑Fi and power.
- Open
Settings > [your name] > iCloud > iCloud Backupand turn it on. - Tap
Back Up Nowto start a first backup. - In
Settings > [your name] > iCloud, ensure Photos/Drive options you need are enabled.
Android
- Connect to Wi‑Fi and power.
- Open
Settings > System (or Accounts and backup) > Backupand turn on device backup. - In your Photos app settings, turn on photo/video backup if available.
- Tap
Back up nowif offered to start the first backup.
Note: Menu names vary by device maker and OS version. If you can’t find a setting, use the Settings search bar and type “backup.”
Add an External Drive Safely
- Plug in the drive and wait for it to appear (Windows: File Explorer > This PC; macOS: Finder > Locations).
- Create a top-level folder like
Family-Backup, then subfolders per person or device. - (Optional) Encrypt the drive to protect it if lost.
- Windows: right-click the drive > Turn on device encryption/BitLocker (if available). Save the recovery key in a safe place.
- macOS: in Finder, right-click the drive > Encrypt “Drive Name…”. Choose a strong password and store it safely.
- Warning: Only “Erase” or “Format” the drive if you are sure it holds nothing important. Formatting deletes all files. For cross‑platform use, choose the exFAT file system.
- When done, safely eject: Windows:
Taskbar > Safely Remove Hardware. macOS: drag the drive to Trash/Eject.
Add a Cloud or Offsite Backup
Cloud backup means your files are copied to secure servers over the internet. Offsite means any copy stored away from your home (cloud or a rotated drive).
- Pick a reputable provider. Look for: two-factor authentication (2FA), file version history, and apps for your devices.
- Create your account and enable 2FA for security.
- Install the provider’s official desktop/mobile apps only from your device’s app store or the provider’s official website.
Warning: Avoid downloads from third‑party sites. Fake installers can contain malware. - Choose what to back up: at least Documents, Desktop, and Pictures/Photos. Include school/work folders if needed.
- Let the first upload run overnight if large. Keep the device awake and on Wi‑Fi.
Tip: If you prefer no cloud, rotate a second external drive. Keep one drive offsite (trusted friend, locked drawer at work). Swap them weekly.
Protect Phones and Tablets
Automatic (recommended)
- iOS:
Settings > [your name] > iCloud > iCloud Backup > On, thenBack Up Now. - Android:
Settings > System (or Accounts and backup) > Backup > On. In Photos app settings, turn on photo/video backup.
Manual copy to a computer (extra copy)
- Connect your phone via USB.
- Unlock the phone and allow access.
- Windows: open File Explorer > your phone > DCIM; copy photos/videos to the external drive’s
Family-Backup/Photosfolder. - macOS: use the Photos app or Image Capture to import to your external drive.
Warning: Do not factory reset a phone or tablet until you see a recent backup date and have confirmed you can view backed‑up photos/files.
Deeper Diagnosis: Verify and Test
Backups are only good if they can be restored. Do these quick checks monthly.
- Spot-check recent files. Open your external drive and your cloud app; confirm this week’s files are present.
- Test a restore: pick one document and one photo. Restore/copy them to a test folder on your desktop. Open them to verify.
- Check backup status:
- Windows: search
File HistoryorBackupto review last run time and any errors. - macOS:
Time Machineshows last backup time; click to view backups. - Cloud: open the app’s activity log to confirm recent uploads.
- Windows: search
- Watch storage space:
- External drive: right‑click > Properties (Windows) or Get Info (macOS) to see free space.
- Cloud: check account storage page; clean duplicates or increase quota if needed.
- Health check your drive (optional): listen for repeated clicking or errors. If you suspect failure, stop using the drive and replace it.
Note: Keep recovery keys (for encrypted drives) in a secure, separate place. Test unlocking the drive on a second computer if you can.
Preventive Care
- Weekly 5‑minute check: confirm backups ran since last week.
- Monthly test: restore two random files from each backup (external and cloud).
- Keep devices updated:
Settings > Updateon all systems; updates fix bugs that can break backups. - Password hygiene: use strong, unique passwords and turn on 2FA for cloud accounts.
- Safe downloads: install only from official stores or vendor sites. Avoid “free cleaner/tuner” tools that promise miracles.
- Label and date everything: drives, folders, and written instructions for family members.
When to Seek Help
- Your external drive makes loud clicking sounds, fails to appear, or disconnects often.
- Backups fail repeatedly for more than a week, or restore tests don’t work.
- You forgot an encryption password or lost a recovery key.
- You’re running out of space and need help choosing the right upgrade.
- Before you sell, recycle, or factory reset a device, if you’re not 100% sure the backup is complete.
Tip: Take clear notes or screenshots of error messages. This speeds up support calls.
Conclusion
With an external drive plus a cloud/offsite copy, your family now has a true 3-2-1 backup. Automatic schedules are running, restores have been tested, and everyone knows where backups live. Keep up the simple weekly check and monthly test, and your memories and documents will stay safe—even if a device is lost, damaged, or replaced.
Frequently Asked Questions
How much storage do I need?
Add up your current data and add at least 50% headroom. If you have 500 GB of files, a 1–2 TB external drive is a comfortable fit.
Which files should I back up?
At minimum: Documents, Desktop, Photos/Pictures, Music, Videos, school/work folders, and any app data you can export (budgets, projects). Include family members’ profiles, too.
Is cloud backup safe?
Choose a reputable provider, turn on two‑factor authentication, use a strong password, and enable file version history. This protects against device loss and accidental deletions.
How often should I back up?
Automatically daily if possible; weekly at minimum. Phones usually back up daily on Wi‑Fi while charging. Test-restore monthly.
Leave a Reply