
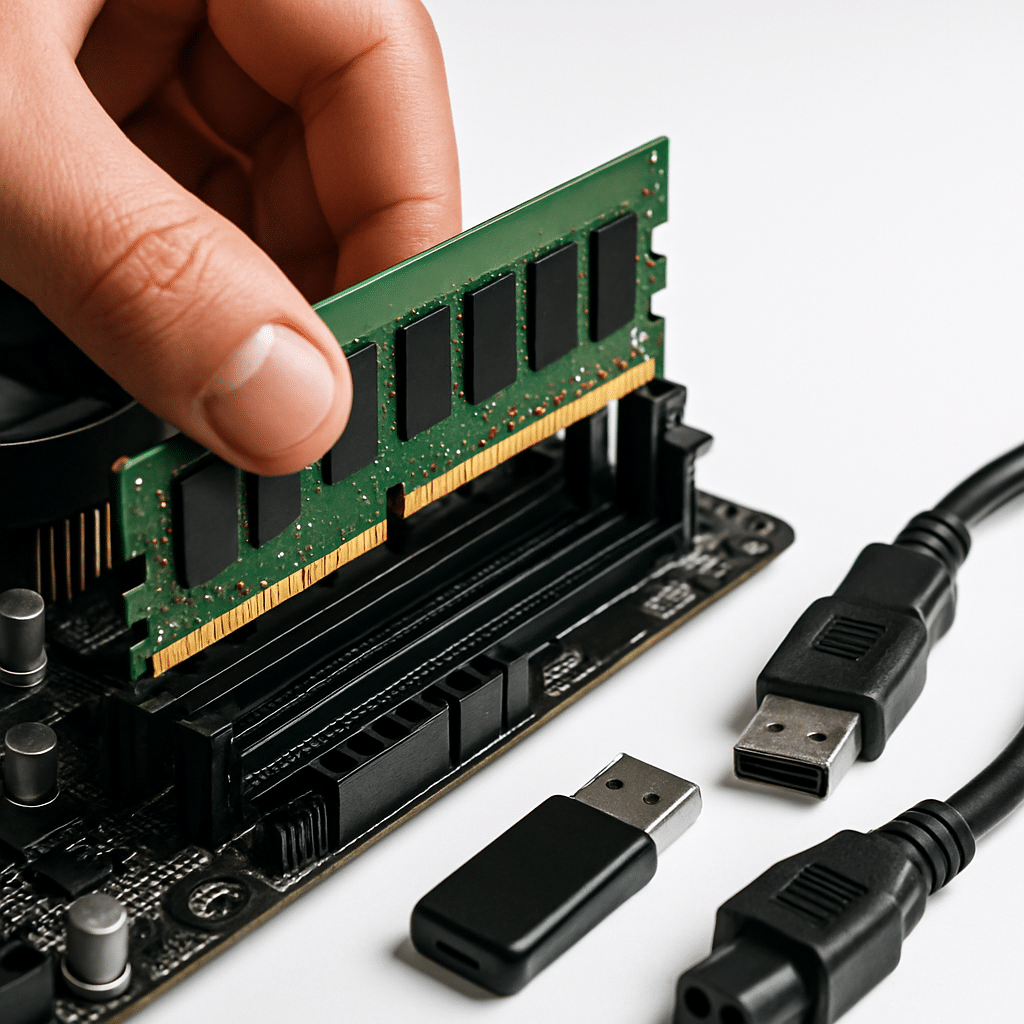
Upgraded your computer’s RAM and want to make sure it’s truly stable? This guide walks you through simple, safe tests to confirm everything is working as it should. You’ll check that the system recognizes the new memory, run built-in diagnostics, stress it gently with everyday tasks, and know what to do if errors appear.
Table of Contents
- Before You Start
- Quick Fix Steps
- Deeper Diagnosis
- Preventive Care
- When to Seek Help
- Frequently Asked Questions
Before You Start
What you need:
- A computer with newly installed RAM.
- Administrator access to your system.
- Charger connected (for laptops) and a stable power source.
- Optional: A blank USB drive (1 GB+) if you plan to try a bootable memory test later.
Time estimate: 30 minutes for quick checks; 1–4 hours for deeper tests (longer tests are more thorough).
Difficulty: Easy to Medium.
What can go wrong:
- System freezes or restarts during testing (a sign of instability).
- Unsaved work can be lost during reboots.
- Changing firmware (UEFI/BIOS) settings the wrong way can cause boot issues.
Warning: Save and close all work before any test that restarts your computer. Avoid downloading tools from unknown sites. If you open your computer again to reseat RAM, unplug power first and ground yourself to avoid static discharge.
Note: iOS and Android phones/tablets do not support RAM upgrades. The steps below are for Windows and macOS computers.
Quick Fix Steps
-
Confirm the system sees the new RAM
Make sure your computer recognizes the full amount you installed.
Windows
- Right-click the taskbar and open Task Manager. Select Performance > Memory. Check the “Installed” or “In use” amount.
- Or press Windows key + R, type
msinfo32, press Enter, and look for “Installed Physical Memory (RAM).”
macOS
- Click Apple menu > About This Mac. Look for “Memory.”
- On newer macOS versions: Apple menu > System Settings > General > About. Look for “Memory.”
Tip: If the amount is lower than expected, a module may be loose or a slot may be disabled in firmware. You can reseat RAM later in the Deeper Diagnosis section.
-
Restart once after the upgrade
A clean restart helps the system initialize memory properly.
-
Run a built-in quick memory test
Windows
- Press Windows key + R, type
mdsched.exe, press Enter. - Choose “Restart now and check for problems.” The test runs before Windows loads.
- After logging back in, check results in Event Viewer: Open Event Viewer > Windows Logs > System, then Find “MemoryDiagnostics-Results.”
Read Microsoft’s Windows Memory Diagnostic guide.
macOS
- Apple silicon (M1/M2/M3): Shut down. Press and hold the power button until “Loading startup options.” When you see options, press Command + D to start Apple Diagnostics.
- Intel Macs: Restart and immediately hold D until diagnostics begins.
- Follow on-screen instructions. Write down any reference codes.
Read Apple’s Diagnostics instructions.
- Press Windows key + R, type
-
Check (or reset) memory settings in UEFI/BIOS
Warning: Changing firmware settings can cause startup issues. Only adjust what you understand. If unsure, skip this step or note the current settings so you can revert.
- Restart and enter UEFI/BIOS (often by pressing Del, F2, F10, or Esc during power-on).
- Find memory settings. If you enabled a performance profile (often labeled XMP/EXPO), set memory to “Auto” or “Default” for initial stability testing.
- Save and exit, then boot normally.
-
Do a gentle real-world stress test (30–60 minutes)
- Open your usual apps. Keep several browser tabs active.
- Play a high-resolution video while copying a large file (e.g., a few GB) between folders. This uses more memory.
- Watch for freezes, app crashes, or unexpected restarts.
-
Look for warning signs
- Windows: Blue screens (BSOD), random restarts, or errors mentioning memory.
- macOS: Spinning beach ball hangs, sudden restarts, or “Your computer was restarted because of a problem.”
- Make a note of what you were doing and the time. This helps later.
Deeper Diagnosis
Run a longer built-in memory test
- Windows: Open
mdsched.exeagain. When the blue test screen appears, press F1 for Options. Choose “Extended,” set Pass count to 2, press F10 to apply. Let it run at least two full passes. - macOS: Run Apple Diagnostics twice, back-to-back. Note any reference codes. If errors persist, move to the next steps.
Note: Longer tests are much better at catching intermittent problems.
Test each RAM stick and slot
Warning: Power down, unplug, and hold the power button for 10 seconds before opening your PC. Ground yourself by touching bare metal. Check your manual for access steps; some laptops are not user-serviceable and may void warranty if opened.
- Remove all but one RAM stick. Make sure it clicks fully into the slot.
- Boot and run the quick memory test again. Note results.
- Repeat for each stick and each slot (one at a time). This helps isolate a bad stick or a bad slot.
Check system logs for clues
- Windows: Open Event Viewer. Go to Windows Logs > System. Use Find to search for
MemoryDiagnostics-Results,WHEA-Logger, orBugCheck. Right-click an event and choose “Copy > Copy details” to save it. - macOS: Open the Console app. Look under System Reports for files named like
Kernel_****.panic. Or check~/Library/Logs/DiagnosticReports/for recent crash logs.
Try a bootable memory test (optional)
Warning: Download only from official sources. Avoid third-party download sites. Follow the tool’s instructions carefully. If you’re not comfortable making a bootable USB, skip this step or ask a professional.
- Create a bootable USB using a reputable memory test image (for example, well-known bootable RAM test tools). This runs outside your OS and can catch subtle errors.
- Boot from the USB and let the test run multiple passes (2–4+). More passes mean better coverage.
- If any errors appear, stop the test and move to the “When to Seek Help” section.
If you enabled performance profiles, validate carefully
- After passing all tests at default settings, you may re-enable memory profiles (often called XMP/EXPO) if supported.
- Run the extended tests again. If errors start now, the profile may be too aggressive for your setup; revert to Auto/Default.
Preventive Care
- Keep backups: Make regular backups before hardware changes. Use an external drive or a trusted cloud backup service.
- Update responsibly: Keep Windows/macOS up to date. Only update UEFI/BIOS if the release notes mention memory compatibility or stability. Warning: Don’t interrupt a firmware update; keep devices plugged into power.
- Use safe sources: Download drivers and tools from official vendor sites. Avoid “driver updater” utilities.
- Don’t mix mismatched modules: Mixing capacities, speeds, or voltages can work but often reduces stability. Matching pairs are best.
- Maintain airflow: Keep vents clear and dust minimal. Heat can trigger memory errors over time.
- Document your baseline: Note your RAM brand/capacity/speed, and whether profiles are enabled. This helps if you need support.
When to Seek Help
- Any built-in or bootable memory test reports errors, even once.
- You see repeated blue screens (Windows) or kernel panics (macOS) during normal use.
- Two different sticks fail in the same slot (the slot or motherboard may be faulty).
- You are uncomfortable changing firmware settings or opening the case.
- Your Mac shows Apple Diagnostics reference codes that point to memory issues. Provide those codes to Apple Support or a technician.
- Your RAM is under warranty—contact the seller or manufacturer for RMA options.
Tip: When contacting support, share your notes: RAM model, number of sticks, slots used, test names and pass counts, and any error codes.
Conclusion: With these steps, you confirmed your system sees the new RAM, passed quick and extended tests, and stayed stable under everyday stress. If problems surfaced, you now have a path to isolate the cause—whether it’s a module, a slot, or a too-aggressive memory profile—and clear signals for when to bring in a pro. Enjoy the faster, smoother system your upgrade was meant to deliver.
Frequently Asked Questions
How long should I run memory tests?
Quick tests take 10–20 minutes. For confidence, run at least two full extended passes (1–3 hours). Overnight runs are even better for catching rare errors.
Is it okay to mix different RAM brands or speeds?
Sometimes it works, but stability can suffer. Matching capacity, speed, and timings is best. If mixing, test thoroughly at default (Auto/JEDEC) settings.
Do I need to change UEFI/BIOS settings for new RAM?
No. Start with Auto/Default. Only enable performance profiles after you pass stability tests, and retest afterward.
Can a bad motherboard slot cause memory errors?
Yes. If the same stick passes in one slot but fails in another, the slot (or board) may be the issue. Seek professional help or warranty service.
Leave a Reply