
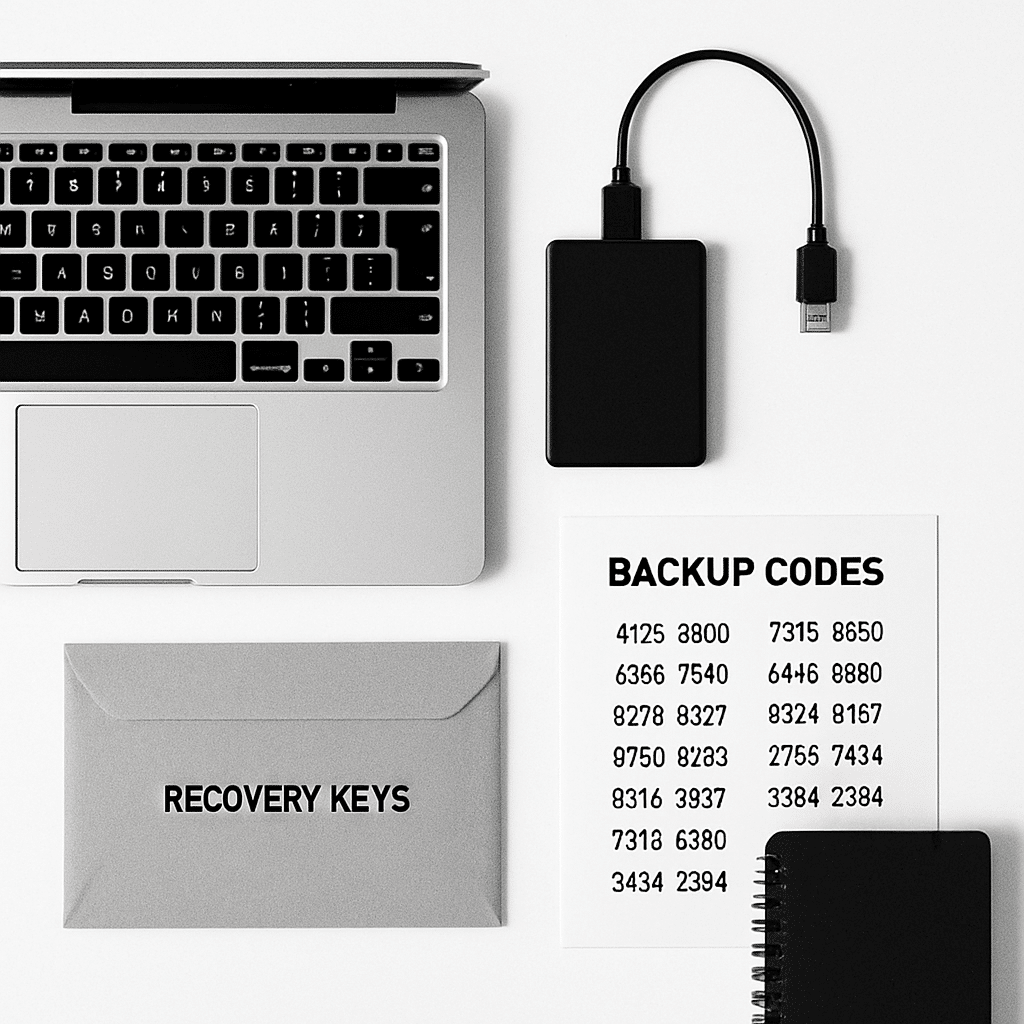
Giving a trusted person access to your digital life is a caring, practical step. In this guide, you’ll prepare a laptop for a legacy contact (a trusted person who can access your data in an emergency or after you pass away). You’ll turn on protection, save recovery keys, create a simple access plan, and test it—without risking your files.
Table of Contents
- Before You Start
- Quick Fix Steps
- Deeper Diagnosis
- Preventive Care
- When to Seek Help
- Conclusion
- Frequently Asked Questions
Before You Start
Goal: Make it easy for your legacy contact to access what matters, while keeping your privacy and security intact today.
- What you need: your laptop’s sign-in password, your phone for 2-step codes, an external drive (32 GB+), a printer (optional), and a notebook or text file for instructions.
- Time estimate: 45–90 minutes. Difficulty: Medium.
- Scope: We’ll set up a safe access path, not share every password. You stay in control.
Warning: Do not factory reset the laptop. A factory reset erases data permanently. Do not turn off disk encryption; that can expose your information if the laptop is lost or stolen.
Note: “Encryption” means your files are scrambled so only someone with the right sign-in can read them. “Backup codes” are printable one-time codes used to sign in if your phone is unavailable.
Quick Fix Steps
-
Pick your legacy contact and write it down. Record their full name, phone, and email. Tell them you’re setting this up and where you’ll store the instructions.
-
Create a separate local admin account for emergencies. This gives your contact a way in, without exposing your daily account.
Windows
- Open Settings > Accounts > Other users (or Family & other users).
- Select Add account > I don’t have this person’s sign-in > Add a user without a Microsoft account.
- Create a username like Emergency-Admin with a strong password. After adding, select the account > Change account type > Administrator.
macOS
- Open System Settings > Users & Groups > Add User (+).
- Choose Administrator. Name it Emergency Admin, set a strong password, and add a hint you’ll understand.
Tip: Store this username and password inside your written instructions, not in plain sight.
-
Confirm full‑disk encryption is ON and save the recovery key. This protects data and gives a fallback if a password is forgotten.
Windows (BitLocker)
- Open Settings > Privacy & security > Device encryption or BitLocker settings.
- If Off, turn it On and follow prompts. Select “Save” or “Print” the recovery key. Store a copy on your external drive and print one for a sealed envelope.
- Optional check (read‑only): Open Command Prompt and run
manage-bde -status. Look for “Percentage Encrypted: 100%”.
macOS (FileVault)
- Open System Settings > Privacy & Security > FileVault.
- If Off, turn it On. Choose to save the recovery key in a safe place and/or with your account provider, if offered.
- Optional check (read‑only): Open Terminal and run
fdesetup status. You should see “FileVault is On.”
Warning: Never share recovery keys by email or text. Treat them like a house master key.
-
Print or save 2‑step verification backup codes for key accounts. If your phone is lost or locked, these codes let your contact in.
- Open each important online account (email, cloud storage, banking, password manager).
- Go to Security > Two‑factor (or 2‑Step) > Backup codes. Click Generate/Show, then Download or Print.
- Place codes in your sealed envelope and a secure digital folder on your external drive.
-
Set up password manager emergency access (or a sealed export).
- If your password manager offers “Emergency Access” or “Trusted Contacts,” add your legacy contact and choose a reasonable wait time (for example, 7–14 days) before approval.
- If it doesn’t, export an encrypted backup or write down the master password and recovery info. Seal it in an envelope and store in a safe place.
Warning: Never email your master password or store it unencrypted in cloud notes.
-
Create a simple “Access Instructions” document. Keep the tone clear and short. Include:
- Where to find: the laptop, external drive, and sealed envelope.
- Emergency-Admin username and password.
- Where recovery keys and backup codes are stored.
- Which folders matter: e.g.,
C:\Users\YourName\Documentsor/Users/YourName/Documents. - Who to contact for help (friend, IT pro, lawyer).
-
Do a quick rehearsal. Log into the Emergency Admin account, verify you can see the main user folders (not open private files), then log out. Confirm the external drive can be read.
Deeper Diagnosis
Use these checks to make sure nothing is missing and your contact won’t hit a wall later.
1) Inventory what matters
- List critical accounts: primary email, cloud storage, banking/bills, password manager, photo library, social media.
- List devices tied to sign‑in: this laptop, your phone (iOS/Android), any tablets.
2) Confirm account recovery works
- Open each important account’s Security or Account settings.
- Add or verify a recovery email and phone. Remove old numbers you no longer use.
- Generate and store backup codes if offered. Replace any that are marked as used.
3) Turn on and test backups
- Windows: Settings > Accounts > Windows Backup or Settings > Update & Security > Backup. Add your external drive. Turn on backups for Documents, Pictures, and desktop folders.
- macOS: System Settings > Time Machine. Select your external drive. Choose Back Up Automatically. Start a backup and wait for “Completed.”
- Test restore: copy one non‑sensitive file out of the backup to confirm it works.
Note: Keep at least two copies of irreplaceable files (for example, one external drive + one reputable cloud service).
4) Document where key files live
- Windows default folders:
C:\Users\YourName\Documents,Pictures,Desktop. - macOS default folders:
/Users/YourName/Documents,Pictures,Desktop. - If you use custom folders or another drive letter, note them in your instructions.
5) Verify admin rights and sign‑in methods
- Windows: Settings > Accounts > Your info. Confirm your account type is Administrator. Ensure you know your sign‑in PIN/password.
- macOS: System Settings > Users & Groups. Confirm your account says “Admin.” Ensure you know your login password and can unlock the Security & Privacy panel.
6) Phone-based 2‑step codes (iOS/Android)
- Open your authenticator app. Ensure it is backed up or can be restored on a new phone. Follow the app’s backup guide.
- For important services, keep backup codes printed. Store them with your recovery keys.
Tip: Many services offer a “legacy” or “inactive account” option. Look in Account or Security settings to add your legacy contact and choose what they can access and when.
Preventive Care
- Review annually: confirm your legacy contact info, recovery phone/email, and backup codes.
- Update the sealed envelope when you change your phone number, master password, or recovery keys.
- Run backups weekly (automatic is best). Test restoring a file monthly.
- Keep your system updated: apply OS and app updates. Updates patch security holes.
- Practice password hygiene: long, unique passwords; use a password manager. Turn on 2‑step verification everywhere you can.
- Store printed items in a safe, fire‑resistant place. Tell your contact where, not what, they are.
When to Seek Help
- You can’t turn on encryption or you lost recovery keys. A local computer pro can help without exposing your data.
- Your only copy of important files is on a failing drive. Stop using it and call a data recovery specialist.
- You’re unsure what to share legally. Ask a lawyer about including digital assets in your estate plan.
- You’re locked out by 2‑step verification and backup codes are missing. Contact the service’s account recovery support before trying risky workarounds.
Warning: Do not attempt a factory reset to “start fresh” before handoff. That will erase your data and can’t be undone.
Conclusion
With a separate emergency admin account, encryption and recovery keys saved, backups running, and clear instructions, your legacy contact can help when it matters. Keep your setup simple, review it yearly, and store printed items safely. A little preparation now prevents stress later and protects both your privacy and your memories.
Frequently Asked Questions
Do I need to give my legacy contact all my passwords now?
No. Give them a safe way in (emergency admin account, recovery keys, and backup codes). Your instructions should explain where these items are stored, not list every password.
Is it safe to print recovery keys and backup codes?
Yes, if you store them securely (for example, in a sealed envelope in a safe). Printed keys are offline and can’t be hacked remotely. Never leave them in plain sight.
What if my legacy contact uses a different operating system?
That’s fine. Your instructions should focus on where your files and recovery items are and how to sign in. The steps to open folders and read files are similar across systems.
What if I change phones or numbers used for 2‑step verification?
Immediately update your recovery phone/email on key accounts and generate new backup codes. Replace the printed ones in your sealed envelope.
Leave a Reply