
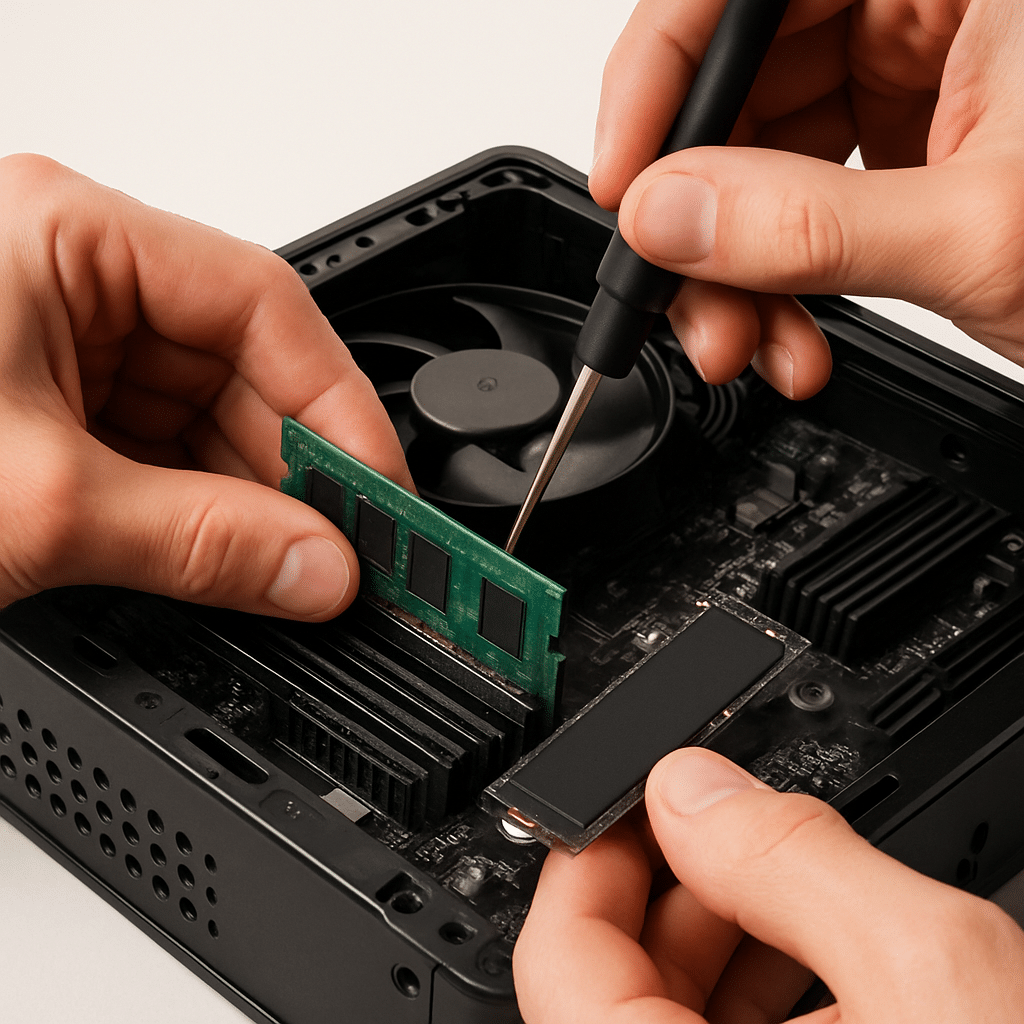
You just installed a new SSD and added more RAM—nice upgrade! If your computer now shows driver errors, can’t see the SSD, or feels unstable, this guide will walk you through safe, clear steps to fix it. By the end, you’ll know how to check connections, update or roll back drivers, and get your system running smoothly again.
Table of Contents
- Before You Start
- Quick Fix Steps
- Deeper Diagnosis
- Preventive Care
- When to Seek Help
- Conclusion
- Frequently Asked Questions
Before You Start
In this guide, “driver” means the small pieces of software your operating system uses to talk to hardware like storage controllers and memory controllers. After a hardware change, drivers can be out of date, mismatched, or corrupted.
- What you need: a small screwdriver, internet access, and a calm workspace with good light.
- Time estimate: 30–90 minutes, depending on what you find.
- Difficulty: Medium. You’ll follow on-screen menus and a few simple utilities.
- What can go wrong: data loss if you format the wrong drive, boot loops if settings change, or static damage if you handle parts without care.
Warning: Back up your important files first. If your system is unstable, copy critical files to an external drive or cloud storage before making changes.
Tip: Touch metal on your case to discharge static before touching RAM or the SSD. Avoid rugs and static-heavy clothing.
Quick Fix Steps
-
Power cycle and re-seat hardware.
- Shut down the computer fully. Unplug the power cable (and battery if it’s a removable-laptop kind).
- Hold the power button for 10 seconds to discharge.
- Open the case. Press RAM sticks down until the side clips click. Ensure the SSD is fully inserted (NVMe: angled in, then down under the screw; SATA: snug data and power cables).
-
Boot once in Safe Mode/Safe Boot. This loads minimal drivers and can clear conflicts.
Windows
- Hold Shift and choose Restart. Go to Troubleshoot > Advanced options > Startup Settings > Restart, then press 4 for Safe Mode.
- Or run
msconfig, open the Boot tab, check Safe boot, restart, then undo later.
macOS
- Apple silicon: Shut down. Hold the power button until Options appear. Choose your startup disk, hold Shift, click Continue in Safe Mode.
- Intel Macs: Restart and hold Shift until you see the login window.
-
Run built-in updates.
Windows
- Open Settings > Windows Update > Check for updates. Install everything marked Driver, Optional quality update, or Firmware.
macOS
- Open System Settings > General > Software Update. Install macOS and security updates.
-
Check for device errors.
Windows
- Press Windows+R, type
devmgmt.msc, press Enter. Look for yellow warning icons (especially under Storage controllers, IDE/ATA/ATAPI, or NVMe). - Right-click a problem device > Update driver > Search automatically.
macOS
- Open Disk Utility (Applications > Utilities). See if the SSD appears on the left. If it does, select it and click First Aid.
- Press Windows+R, type
-
If the SSD doesn’t show up, initialize it.
Windows
- Press Windows+R, type
diskmgmt.msc, press Enter. - If prompted to initialize, choose GPT for modern systems. Right-click unallocated space > New Simple Volume and follow the wizard.
macOS
- Open Disk Utility > View > Show All Devices. Select the physical SSD > Erase. Use APFS for macOS internal drives. Warning: Erase deletes all data on that drive.
- Press Windows+R, type
-
Roll back or remove a bad driver (Windows).
- In Device Manager, right-click the device > Properties > Driver tab. Try Roll Back Driver. If unavailable, choose Uninstall device, check “Attempt to remove the driver for this device” if shown, then Action > Scan for hardware changes.
-
Reset simple firmware settings (macOS).
- Reset NVRAM/PRAM (Intel Macs): Restart and hold Option+Command+P+R for ~20 seconds.
- Reset SMC (Intel Macs only): Use the model-specific key sequence. This can resolve odd hardware-driver behavior.
Warning: Avoid third-party “driver updater” tools. They can install incorrect or unsafe software. Use built-in updates or your computer/motherboard maker’s support page only.
Deeper Diagnosis
1) Confirm BIOS/UEFI sees your SSD
- Restart and enter BIOS/UEFI (often by pressing Del, F2, or Esc right after powering on).
- Look for the SSD in Storage, NVMe Information, or Boot devices. If it’s missing, recheck connections or try a different slot/cable.
Warning: Write down existing BIOS/UEFI settings before changing anything. Changing SATA mode (e.g., AHCI/RAID) on an existing OS can prevent booting.
2) Update storage/chipset drivers safely (Windows)
- Find your PC or motherboard model in
msinfo32(press Windows+R, typemsinfo32). Note the System Model and BIOS Version/Date. - Go to the official support page for your PC or motherboard brand. Download storage controller, chipset, and NVMe drivers for your exact model and OS version.
- Tip: Save downloads to your Desktop. Install one at a time. Restart after each.
- Warning: Do not install drivers from unknown websites. If you’re unsure, stop and seek help.
3) Memory checks (RAM-related crashes can look like driver issues)
- Remove the new RAM and test with only the original sticks. If stability returns, the new RAM may be incompatible.
- Match RAM by speed and voltage when possible. Use the correct slots (often alternating). Your manual or inside-the-case diagram can help.
- Run Windows Memory Diagnostic: Press Windows+R, type
mdsched.exe, choose Restart now and check for problems.
4) File system and disk health
- Windows: Open File Explorer > This PC > Right-click the SSD > Properties > Tools > Error checking > Check.
- macOS: Disk Utility > select the volume > First Aid. Repeat for the physical drive.
5) System restore or rollback (Windows)
- Press Windows+R, type
rstrui.exe, choose a restore point from before the upgrade. This can revert a problematic driver.
Warning: System Restore affects system files and drivers. It shouldn’t touch personal documents, but back up first just in case.
6) Safe firmware updates—only if needed
- BIOS/UEFI and SSD firmware updates can fix compatibility, but they are risky if interrupted.
- Only update from your official support page, read the instructions, and use reliable power. If your system is unstable, do not proceed.
Preventive Care
- Keep OS and drivers updated using built-in tools (Windows Update, macOS Software Update). Check monthly.
- Create restore points (Windows: search “Create a restore point”) before big changes. On macOS, keep Time Machine backups.
- Download drivers only from official support pages. Bookmark the correct page for your exact model.
- Label inside your case or keep notes: which slot each RAM stick is in, SSD port, BIOS settings changed. This makes reversing changes easier.
- Run periodic disk health checks and ensure you have at least 15–20% free space on your system drive.
When to Seek Help
- Repeated blue screens (Windows) or kernel panics (macOS) even after Safe Mode and updates.
- The SSD is not detected in BIOS/UEFI or by Disk Utility/Disk Management after re-seating and cable swaps.
- Clicking, grinding, or burning smells—power down immediately.
- You’re unsure about BIOS/UEFI updates or storage mode changes. These can stop the system from booting if done wrong.
- Data recovery needed. Stop using the drive to avoid overwriting files and consult a professional.
Conclusion
Most driver issues after an SSD and RAM upgrade come down to loose connections, outdated storage/chipset drivers, or RAM compatibility. By re-seating parts, using Safe Mode/Safe Boot, running built-in updates, and carefully checking settings, you can resolve the majority of problems at home. If signs point to hardware faults or firmware conflicts you’re not comfortable with, it’s smart to call a pro before risks grow.
Frequently Asked Questions
Do I need special drivers for an SSD?
Usually no. Modern operating systems include storage drivers. On Windows, updating chipset/storage controller drivers from your official support page can improve performance and stability. On macOS, system updates handle storage support.
Can bad or mismatched RAM cause driver errors?
Yes. Unstable RAM can trigger crashes that look like driver faults. Test with the original RAM only, then add new sticks one at a time to isolate issues.
Should I change AHCI/RAID settings after installing an SSD?
Don’t change storage mode unless you’re following a clear guide for your setup. Switching modes on an existing install can break booting. If it must change, back up first.
Is a BIOS/UEFI update required for a new SSD?
Not always. Only update if the release notes mention NVMe/compatibility fixes that match your issue. Follow the official instructions carefully, and avoid updating on an unstable system.
Leave a Reply