
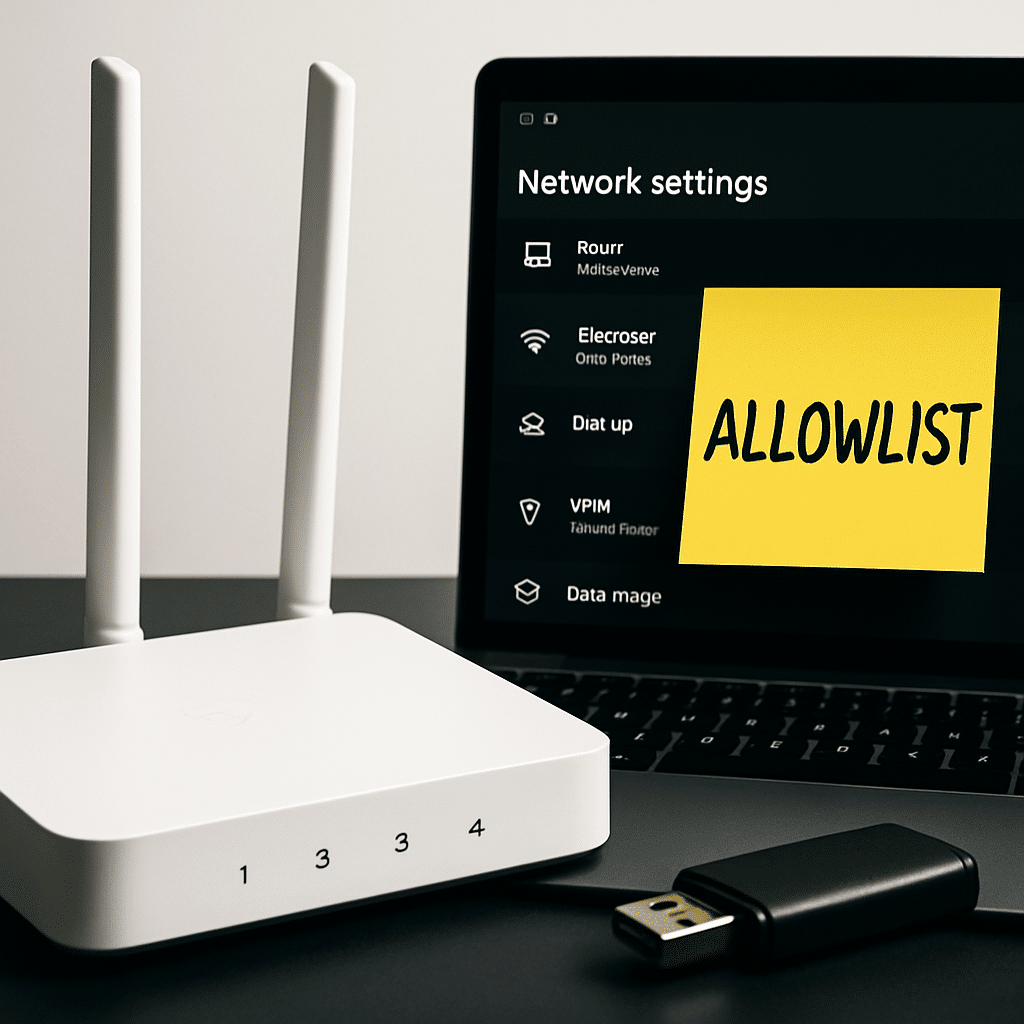
Want to run a safe phishing drill at home? This step-by-step guide shows you how to adjust your router (the box that creates your home Wi‑Fi network) so test emails and training links work, without weakening your security. You will set a temporary allowlist entry, enable logs, test, and then safely revert everything.
Table of Contents
- Before You Start
- Quick Fix Steps
- Plan Your Drill
- Adjust Router Settings
- Deeper Diagnosis
- OS Variations and Commands
- Preventive Care
- When to Seek Help
- Conclusion
- Frequently Asked Questions
Before You Start
- Prerequisites:
- The drill domain or link from your organizer (example: training.example.com).
- Router admin password and access to its web page.
- A device connected to your home Wi‑Fi for testing.
- Time estimate: 25–45 minutes (including testing and cleanup).
- Difficulty: Medium (follow the steps closely and you’ll be fine).
- What can go wrong:
- Accidentally disabling security features and forgetting to re‑enable them.
- Locking yourself out of the router by changing the password and not saving it.
- Losing internet if you change DNS or WAN settings incorrectly.
Warning: Do not factory reset your router, disable the firewall, or install unknown software. If a step mentions turning off a protection, do it only for the short drill window and turn it back on immediately after.
Quick Fix Steps
- Get the exact drill domain/link from your organizer. Write it down precisely (e.g., phish-training.example.org).
- Log in to your router’s admin page. Look for menus named Security, Parental Controls, Web Filtering, Safe Browsing, or DNS Filtering.
- Add a temporary allowlist/exception for only the drill domain (no wildcards). Save.
- Enable logging (URL or security logs) so you can confirm what’s blocked or allowed.
- Flush DNS on your device, then test the link (see OS steps below). Keep the window short (30–60 minutes).
- Run the drill: open the test email, inspect it, and practice safely without entering real passwords.
- Revert: remove the allowlist entry, confirm protections are on, and save.
Plan Your Drill
Decide your goal
- Goal ideas: Practice spotting warning signs in an email, checking a URL before clicking, or reporting suspected phishing.
- Scope: Use only the official test link(s) from your organizer. Do not test with random suspicious sites.
Choose a short time window
- Pick a 30–60 minute block when you can focus and revert settings right away.
- Inform family members so they’re not surprised by temporary changes.
Prefer allowlisting over disabling protections
- Best practice: add a precise exception for the drill domain.
- If your router has a single “malicious site blocking” switch, avoid turning it off. If you must, do it only during the drill and turn it back on immediately.
Adjust Router Settings
1) Open the router admin page
- Connect to your home Wi‑Fi.
- Find your router’s IP (often
192.168.0.1or192.168.1.1). See OS commands below. - Open a web browser and enter the router IP in the address bar. Sign in with your admin credentials.
2) Back up your current configuration
- Look for a Backup/Export Settings option (often under Administration or System).
- Save a copy to your computer. Name it with today’s date.
Warning: Backing up first lets you restore quickly if something goes wrong.
3) Enable security logging
- Open Security/Logs. Turn on logging for web filtering or threat blocking.
- If there’s a log level, choose Normal or Informational (not Debug, to avoid excess data).
4) Add a temporary allowlist entry
- Open Security, Parental Controls, Web Filtering, Safe Browsing, or DNS Filtering.
- Find Allowlist/Exceptions. Add the exact domain (example:
training.example.com). - Tip: If the drill uses a subdomain (like
link.training.example.com), allowlist that exact subdomain. Avoid broad entries like*.example.com. - Save changes.
5) Time-box any broad changes
- If your router can schedule rules, set the allowlist to apply only during your drill window.
- Set a phone reminder to remove the exception when done.
6) Apply changes and avoid risky toggles
- Apply/Save. Reboot the router only if prompted.
- Note: Do not disable the firewall or WAN protections. If “phishing protection” must be turned off, limit it to the drill window and revert immediately afterward.
Deeper Diagnosis
Check physical connection
- Ensure your modem and router lights show internet connectivity.
Confirm your device is using the router
- Verify you’re on the home Wi‑Fi network (not a mobile hotspot or neighbor’s network).
Verify DNS and filtering
- Test: open only the drill link. If blocked, check router logs for a blocked domain entry.
- If blocked by a browser extension or antivirus, add a temporary exception there instead of weakening router protections.
If the test email never arrives
- Check Spam/Junk folders. Router settings rarely block emails; your email provider’s filters do.
- Add the sender to contacts or allowlist in your email service, then try again.
After testing
- Remove the router allowlist entry. Confirm your protections (web filtering, safe browsing, DNS filtering) are back on.
- Spot-check by visiting a known harmless blocked test site if your router provides one, or review the logs to confirm blocking is active again.
OS Variations and Commands
Windows
- Find router IP: Press Windows+R, type
cmd, then runipconfig. Look for “Default Gateway.” - Flush DNS: Open Command Prompt as a normal user and run
ipconfig /flushdns.
macOS
- Find router IP: System Settings > Network > Wi‑Fi > Details > Router. Or run
route -n get default | grep gatewayin Terminal. - Flush DNS: In Terminal, run
sudo killall -HUP mDNSResponder(you’ll be asked for your Mac password). No output means it worked.
iOS (iPhone/iPad)
- Quick DNS refresh: Toggle Airplane Mode on, wait 5 seconds, then off.
- Renew lease: Settings > Wi‑Fi > (i) next to your network > Renew Lease.
Android
- Quick DNS refresh: Toggle Airplane Mode on, wait 5 seconds, then off.
- Private DNS check: Settings > Network & internet > Private DNS. If it’s set to a filtering provider, you may need to switch to “Automatic” during the drill, then switch back.
Warning: If you change Private DNS or VPN settings on a device, revert them right after the drill to restore full protection.
Preventive Care
- Revert settings immediately: remove allowlists and confirm protections are on.
- Update router firmware: check Administration/System > Firmware/Update.
- Use a strong, unique admin password and enable two-step verification if available.
- Document what you changed and when you reverted it.
- Continue security habits: avoid unknown downloads, keep devices updated, and teach family how to spot phishing. See the FTC guide to recognizing phishing.
When to Seek Help
- You can’t log in to the router or forgot the admin password (contact your ISP or router vendor support; avoid factory reset unless directed).
- The internet stops working after a change and doesn’t recover after you undo it.
- You see repeated blocks in logs for unrelated sites or devices, which could indicate malware.
- Your router doesn’t offer allowlists or filtering controls needed for the drill—ask the organizer for alternate test domains or device-level steps.
Tip: Have details ready: router model, ISP name, firmware version, and screenshots of the settings you changed.
Conclusion
You set up your router to support a safe phishing drill: you planned a short window, added a precise allowlist, enabled logs, tested, and then reverted. These steps let you practice spotting scams while keeping your home network protected. Save this checklist for your next drill, and keep your router updated and secured.
Frequently Asked Questions
Will this make my network less safe?
Not if you time-box the change, allowlist only the drill domain, and revert immediately. Avoid disabling broad protections whenever possible.
Do routers block emails?
Usually no. Email filters live with your email provider or app. The router may block web links you click; that’s what you adjusted temporarily.
Should I use a VPN during the drill?
A VPN may bypass or change DNS filtering, affecting the test. For consistent results, pause VPN during the drill and turn it back on after.
I can’t find the allowlist option—what now?
Look for terms like Exceptions, Trusted Sites, or Bypass under Security/Parental Controls/DNS Filtering. If it’s not available, ask the organizer for a different test domain or do a device-level exception instead.
Leave a Reply