
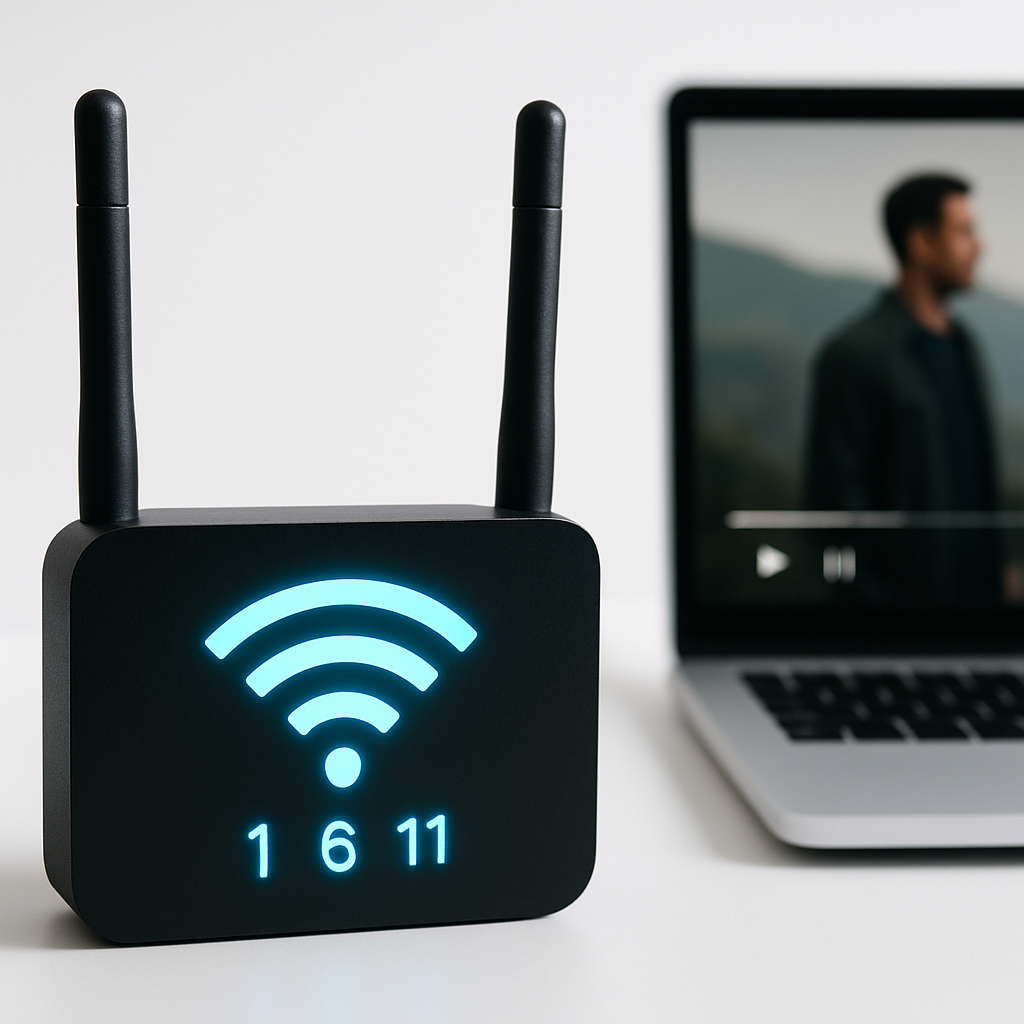
Buffering during your favorite show? The fix is often simple: pick a quieter Wi‑Fi channel. This guide walks you step by step to find the best channel and set it on your router, so streaming is smooth and stutter‑free.
Table of Contents
- Before You Start
- Quick Fix Steps
- Deeper Diagnosis
- Choose the Best Channel
- Change the Channel on Your Router
- Test and Fine‑Tune
- Preventive Care
- When to Seek Help
- Conclusion
- Frequently Asked Questions
Before You Start
Router: the box that creates your home Wi‑Fi network. Channel: the radio lane your Wi‑Fi uses. Picking a quiet lane reduces interference and lag.
What you need: a phone or computer connected to your Wi‑Fi, your router’s admin login (often on a sticker), and 20–40 minutes of calm time.
Difficulty: Easy to Medium. You’ll scan nearby networks, choose a good channel, and change one setting.
What can go wrong: Changing Wi‑Fi settings can briefly disconnect devices. If you pick a bad channel, speeds may drop. You can always switch back. Warning: Avoid a factory reset unless you are locked out; resetting erases your Wi‑Fi name, password, and all custom settings.
Quick Fix Steps
- Move closer to the router. Walls, floors, and metal objects weaken Wi‑Fi. If streaming improves nearby, it’s a signal strength issue.
- Reboot your modem and router. Unplug both for 30 seconds, then plug in the modem, wait 2 minutes, then the router, wait 2–3 minutes. This clears glitches.
- Use the faster band. If your router offers both 2.4 GHz and 5 GHz (or 6 GHz), connect streaming devices to 5 GHz/6 GHz for less interference and more speed.
- Reduce interference. Keep the router high and in the open. Move it away from microwaves, baby monitors, cordless phones, and thick walls.
- Try a known‑good channel. For 2.4 GHz, use channel 1, 6, or 11. For 5 GHz, try 36, 40, 44, or 48 first. You’ll change this in your router (see Change the Channel on Your Router).
Deeper Diagnosis
1) Check your modem and router lights
All expected lights should be solid or blinking normally. If the Internet/WAN light is off or red, call your Internet provider first.
2) Is it Wi‑Fi or the internet line?
If possible, plug a computer into the router with an Ethernet cable and stream for a few minutes. If it’s smooth on Ethernet but lags on Wi‑Fi, your channel or signal is the likely issue.
3) Scan nearby networks to spot crowding
You want the least crowded channel. Here’s how to check:
Windows
- Press Start, type cmd, open Command Prompt.
- Run:
netsh wlan show networks mode=bssid - Look at Channel for each network. Count how many use channels 1, 6, and 11 (2.4 GHz). For 5 GHz, note which of 36/40/44/48 or 149/153/157/161 are busy.
macOS
- Hold Option and click the Wi‑Fi icon in the menu bar, choose Open Wireless Diagnostics.
- Ignore the wizard. In the menu bar, click Window > Scan. Review the recommended channels and the list of networks.
- Or use Terminal:
/System/Library/PrivateFrameworks/Apple80211.framework/Versions/Current/Resources/airport -s
iOS/iPadOS
On many iPhones/iPads, channel details aren’t shown in Settings. You can look under Wi‑Fi network details to see 2.4 GHz, 5 GHz, or 6 GHz.
Warning: If you choose to install a Wi‑Fi analyzer app, use your device’s official app store, check recent reviews, and avoid apps that ask for unnecessary permissions.
Android
- Open Settings > Network & Internet (or Connections) > Internet/Wi‑Fi.
- Tap your connected network, then Advanced details. Look for Channel or Frequency. Some phones also list nearby networks and their channels.
- If needed, use a reputable Wi‑Fi analyzer app from the official store. Check ratings and permissions first.
Note: 2.4 GHz has only three non‑overlapping channels: 1, 6, and 11. Using others often overlaps and causes lag.
Choose the Best Channel
Use these simple rules to pick your channel:
- 2.4 GHz: Choose channel 1, 6, or 11 based on which is least crowded in your scan. Set Channel Width to 20 MHz for stability.
- 5 GHz: Prefer channels 36, 40, 44, 48 or 149, 153, 157, 161 that are least used. Start with 40 or 80 MHz width. If neighbors are dense (apartment), try 40 MHz.
- 6 GHz (Wi‑Fi 6E/7): If all streaming devices support it, pick a free channel. 80 MHz width is a good default. Range is shorter than 5 GHz.
Warning about DFS channels: Some 5 GHz channels (called DFS) can be super quiet, but they must move out of the way for radar. That can cause brief drops. If your streaming pauses randomly, pick a non‑DFS channel instead.
Tip: For streaming, a clean channel beats a wider, noisy channel. Stable beats peak speed.
Change the Channel on Your Router
These steps are generic and work for most routers. Menu names vary, but the idea is the same.
- Stay connected to your Wi‑Fi. Find your router’s IP address (the admin page location).
Find the router IP
Windows
- Open Command Prompt and run:
ipconfig - Note the Default Gateway (often
192.168.1.1or192.168.0.1).
macOS
- Go to System Settings > Network > Wi‑Fi > Details.
- Find Router (e.g.,
192.168.1.1). - Or use Terminal:
networksetup -getinfo Wi-Fi
iOS/iPadOS
- Settings > Wi‑Fi > tap your network (i). Look for Router.
Android
- Settings > Network & Internet > Internet/Wi‑Fi > tap your network > Advanced. Look for Gateway.
- Open a web browser and enter that IP in the address bar. Log in with the router username and password (often on a label).
Warning: If you don’t know the password, check the sticker or your records. Avoid a factory reset unless absolutely necessary; it erases all settings.
- Find Wireless/Wi‑Fi settings. There will be separate settings for 2.4 GHz, 5 GHz, and maybe 6 GHz.
- Set the Channel to your choice (from the section above). Set Channel Width as suggested.
- Click Save/Apply. Your Wi‑Fi will briefly disconnect and reconnect on the new channel.
Test and Fine‑Tune
- Stand near the router and start a stream in HD/4K. Watch for 3–5 minutes. Then test from your usual viewing spot.
- Run a quick speed and jitter test (any reputable site/app). Note download speed, upload speed, and ping/jitter.
- Walk around your home with the stream playing. Note any rooms where it stutters. If only far rooms struggle, consider moving the router higher/central or adding a wired access point later.
- If the new channel is worse, switch to your second choice. Keep a note of what you tried and the results.
Optional latency check:
- Windows:
ping -n 20 8.8.8.8 - macOS:
ping -c 20 8.8.8.8
Lower and more consistent times are better for streaming stability.
Preventive Care
- Keep firmware updated. Check your router’s admin page quarterly for firmware updates. Updates fix bugs and improve performance.
- Place the router well. Center of home, high shelf, away from thick walls and appliances.
- Use strong security (WPA2 or WPA3) and a unique password to prevent neighbors from using your bandwidth.
- If your router has “auto channel,” you can try it. If it flips channels during your shows, set a manual channel that tested well.
- Avoid random downloads. If you need a Wi‑Fi analyzer, use official app stores, check reviews, and uninstall if it behaves oddly.
- Back up settings if your router supports export/backup. It makes reversals quick after mistakes.
When to Seek Help
- Wired (Ethernet) speeds are far below your plan consistently. This points to your provider or modem.
- Wi‑Fi drops every day even after channel changes and good placement.
- You cannot log in to the router or settings won’t save.
- Your router is over 5–6 years old. Newer models handle crowded Wi‑Fi better; consider an upgrade.
- You need coverage in a large or complex home. A pro can assess proper access point placement and wiring.
Conclusion
You learned how to scan your surroundings, choose a quieter Wi‑Fi channel, and set it on your router. With the right channel and placement, streams should play smoothly without those annoying pauses.
If issues return, revisit your scan and try the next‑best channel, or consider an equipment update. Stable Wi‑Fi is mostly about a clean channel, good placement, and simple, steady settings.
Frequently Asked Questions
Should I leave the router on “Auto” channel?
Auto can work, but some routers switch channels at busy times, causing drops. If Auto is unstable, set a manual channel you verified is quiet.
2.4 GHz, 5 GHz, or 6 GHz: which is best for streaming?
5 GHz is the sweet spot for most homes: fast with decent range. 6 GHz is fastest but shorter range and needs newer devices. 2.4 GHz goes far but is crowded; use it only when distance demands it.
What are DFS channels?
DFS channels are shared with radar. They can be very quiet, but your router may pause or change channels if radar is detected. For rock‑solid streaming, prefer non‑DFS channels unless DFS proves stable in your area.
What channel width should I use?
2.4 GHz: 20 MHz. 5 GHz: 40 or 80 MHz (use 40 MHz in crowded buildings). 6 GHz: 80 MHz is a good default. A clean, narrower channel can beat a wide, noisy one.
Leave a Reply